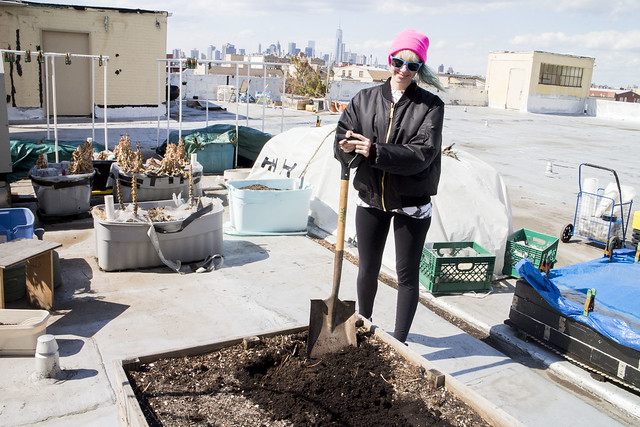
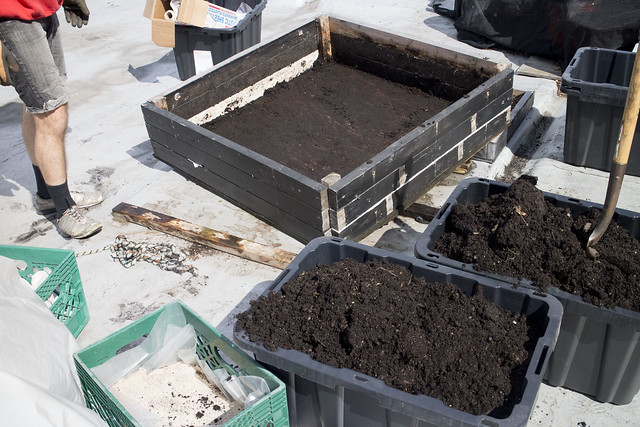
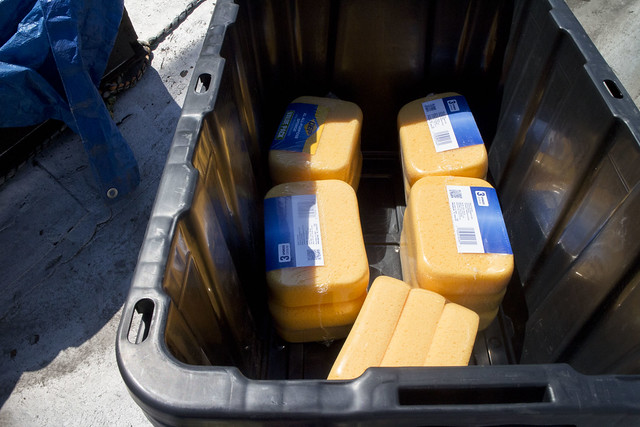
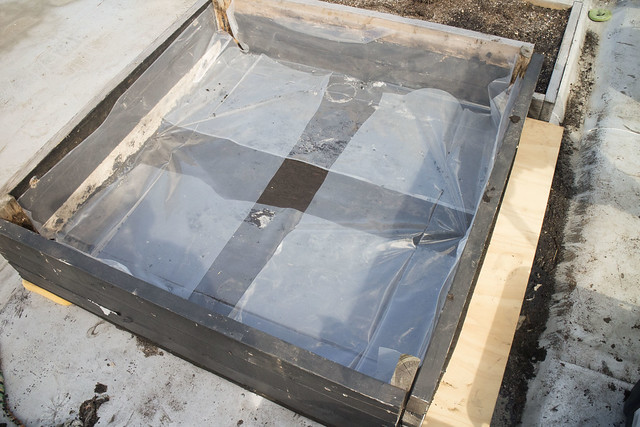
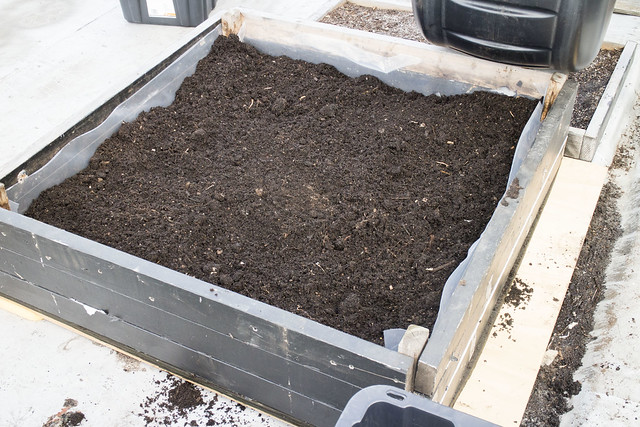
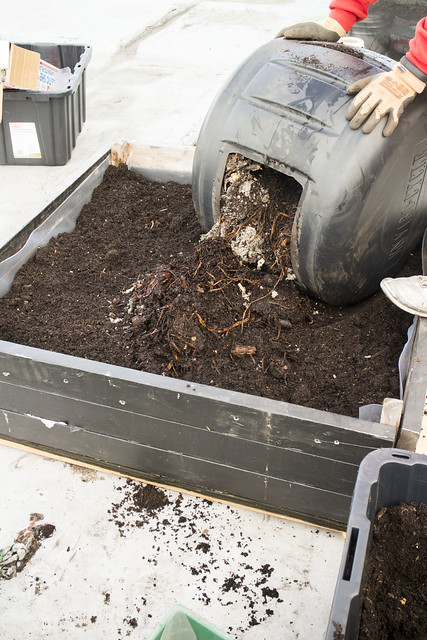
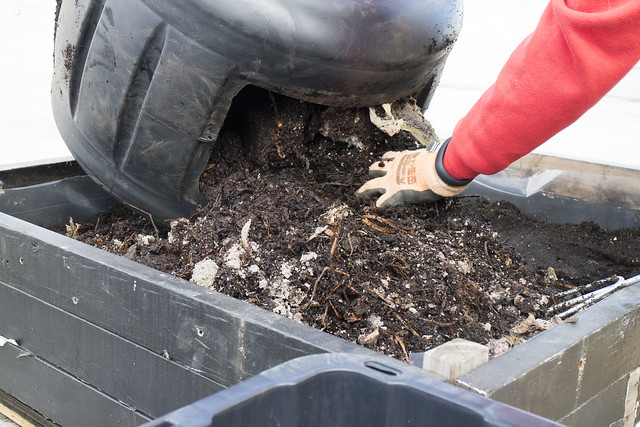
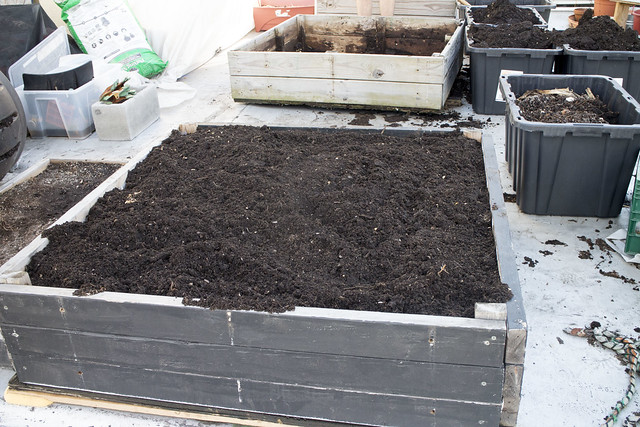
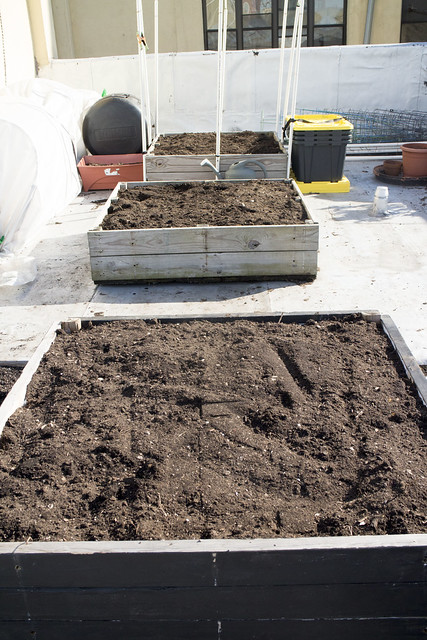
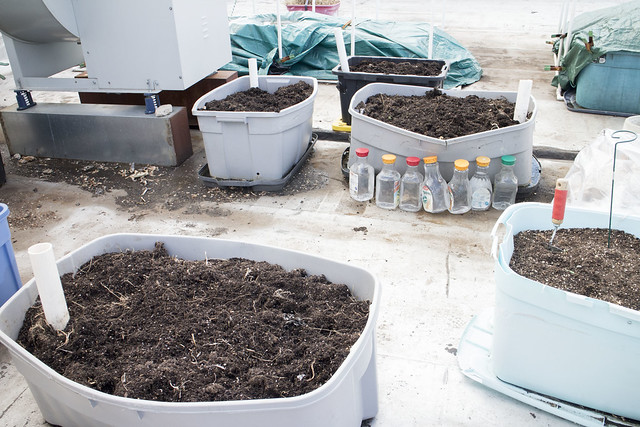
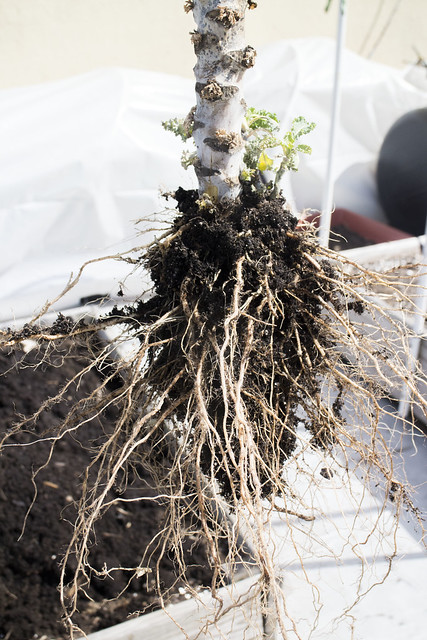
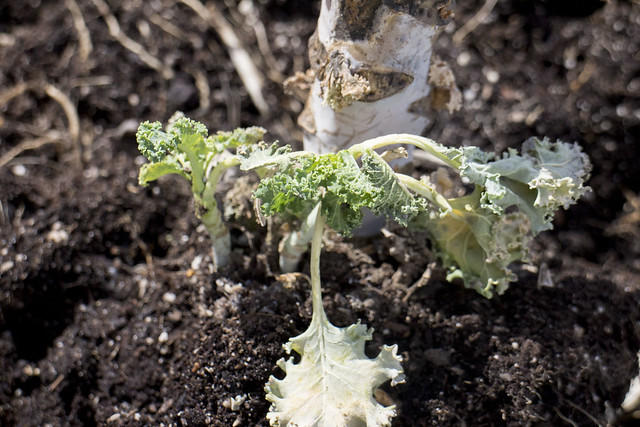
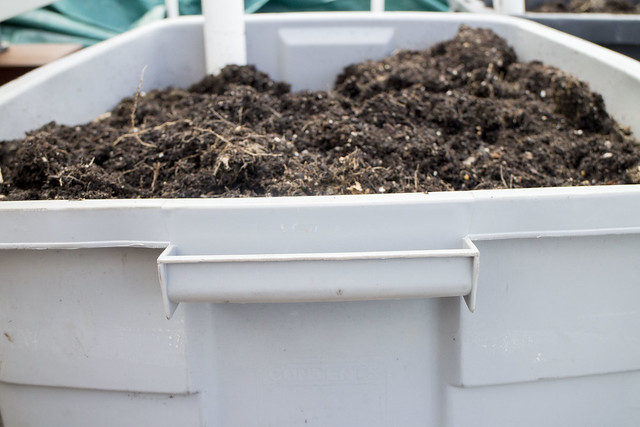
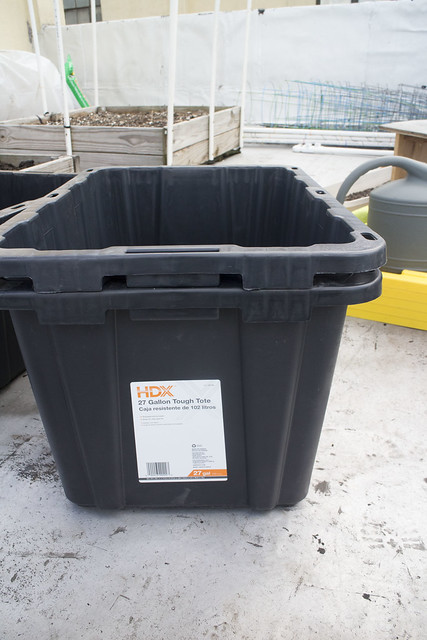
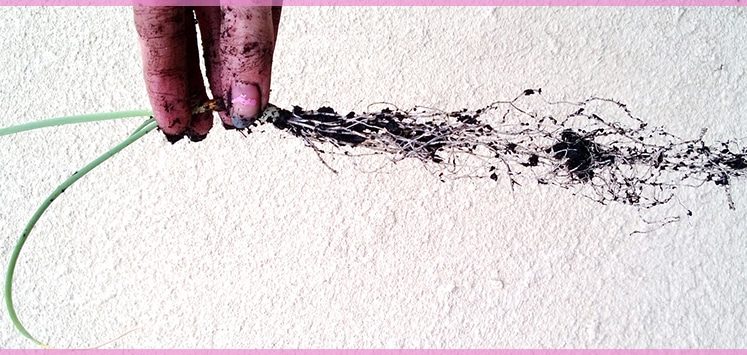
(By the way, how awesome is it to have a World Trade Center and NYC skyline view in your garden?) So on to the first day of garden clean up. Today we had a few goals:1. Clean up the 3 4×4 wooden boxes. We were worried they were going to be frozen and unable to shovel but thankfully they weren’t. We wanted to take all the soil out, replace the sponges underneath, cover the insides with plastic, turn the soil and add compost. I’ll talk about all that below. DONE.2. Clean up multiple containers that had plants in it that needed to be yanked out. Also in these containers the plastic on top needed to be removed. DONE.3. Take off the greenhouses, clean out the plants, get some harvest. NOT DONE, TOO WINDY.4. Clean up a neighbor’s garden who tried, failed, and then moved out… all while leaving their garden and trash on the roof. Don’t be that person. I will cuss you under my breath while I pull all your trash across the roof. I will also be extremely upset when said trash breaks open and I have to clean it up half way across the roof. DONE. Here’s the before: Here’s the after. Small visible changes, but yet big jobs that had to be done. We have 3 4×4 boxes that we grow peas, beans, carrots and spinach in. We started with these boxes many years ago before we started using sub irrigated containers, let’s say they were a learning process. These boxes use potting soil, but we need to replenish them every single year to get them healthy. Also to be completely honest the containers kick the boxes butts in terms of better growing because they do such a better job at locking in the moisture, while these boxes tend to dry out. We have grown corn in them in the past and the results were always a bit lackluster due to the soil drying out in the hot months of July and August. To attempt to improve the growth in these boxes we decided to line them with plastic to help the moisture. To do this though, we need to get to the bottom of the boxes.. one at a time. While the boxes were empty this was a great time to also change the sponges that we put under the boxes. These protect the building’s roof so the boxes don’t leave marks or damage it. These are just basic sponges, I think they’re $4 for 3 at Home Depot. Then we lined the boxes with plastic. We cut out a few strips and staple it to the boxes side. The plastic is loose as water can still get through the bottom to drain accordingly. It sure gets hot on the roof so I’m really hoping this plastic helps these boxes. Then we fill each box half way with the soil. We don’t use soil for any of our containers, instead they are filled with potting mix, but since we have accumulated so much soil due to these 3 boxes we have to use it… because where else are we going to put this soil? To make it better than just regular ol soil, then we put a nice healthy layer of compost on top that was breaking down all winter. Look at this beautiful brown compost! Can I just tell you how great it smells (honestly)? So Earthy. It’s also pretty awesome to see the steam come off of compost when you dump it out. The sight of steam rising from a compost pile sure makes me a happy girl. It’s the small things in life… 🙂 Then we continue to fill each box to the near top with soil. After we finish one, then it’s on to the next one. If you’re doing this on a roof or some place you might not want to get that dirty, you’ll need some containers to shovel the soil into while emptying out. All boxes ready to go! Almost time for those sugar snap peas to get planted! The other big job we had was removing some of the old kale and broccoli plants from these 4 containers here. These containers will be used for new veggies in the Spring so their old plants were pulled out. It’s hard work. I almost threw my back out about 8 times. It’s pretty amazing to see the roots on these kale plants when pulled up. Container gardening is awesome! What else is awesome and super wild? Some of the kale plants had new kale growth at the bottom. Somehow the plants made it through this winter and still wanted to stick around for Spring! Here’s some container suggestions too since I’ve received some comments asking what type of containers we use. One big recommendation is to pay the extra 1 or 2 bucks to get stronger containers. These are often labeled “Tough” or “Strong” or “Roughneck”. Why? Winter is brutal and if you have super cheap plastic containers, they are going to crack at first touch. I’m talking you are going to lightly touch the handle and it will fall apart. These tough ones last season after season, so definitely invest in some sturdy ones as it will save you money quickly!This is one of the Roughneck variety that comes in multiple sizes, we have 2 different sized ones depending on how many plants we grow. And this is one of the Tough ones. Sometimes during Winter you can even find these on sale for 7 bucks. I love these ones because they come with yellow lids that the containers can actually sit in. Then during the winter if you don’t use them, you can just use the lid to close them up. These hold up so well. This is a cheap container as you can tell as the handle just broke off completely. Have you started to get ready for Spring or are you still covered in Snow?What’s next on your Garden calendar?