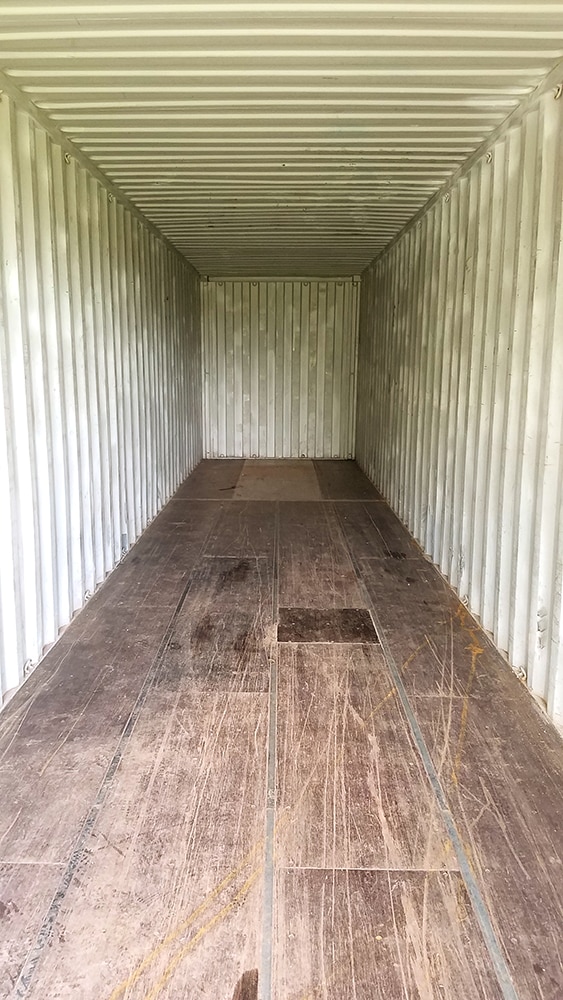
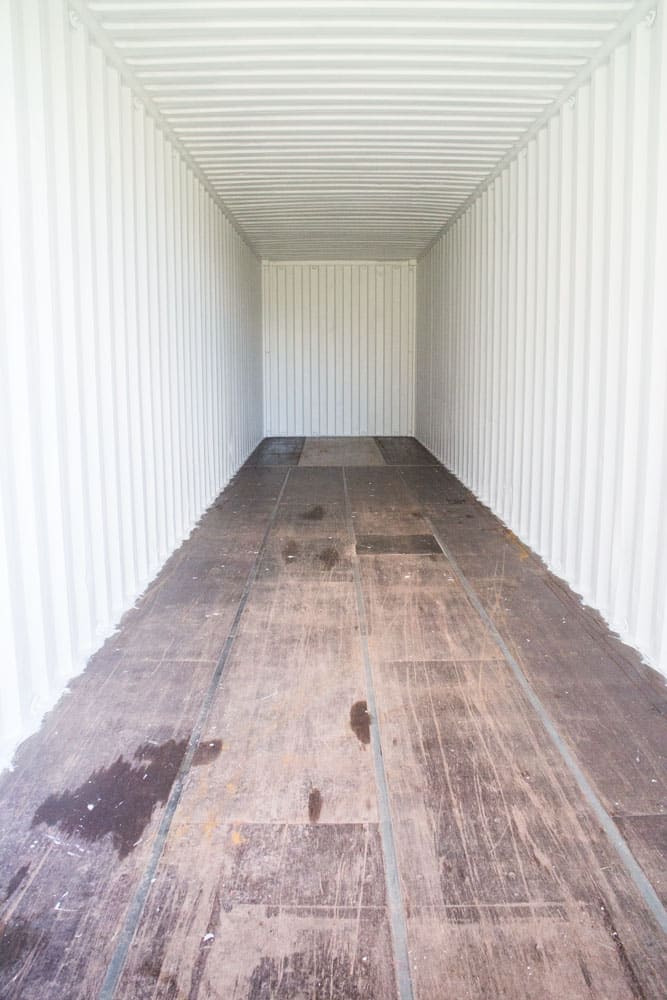
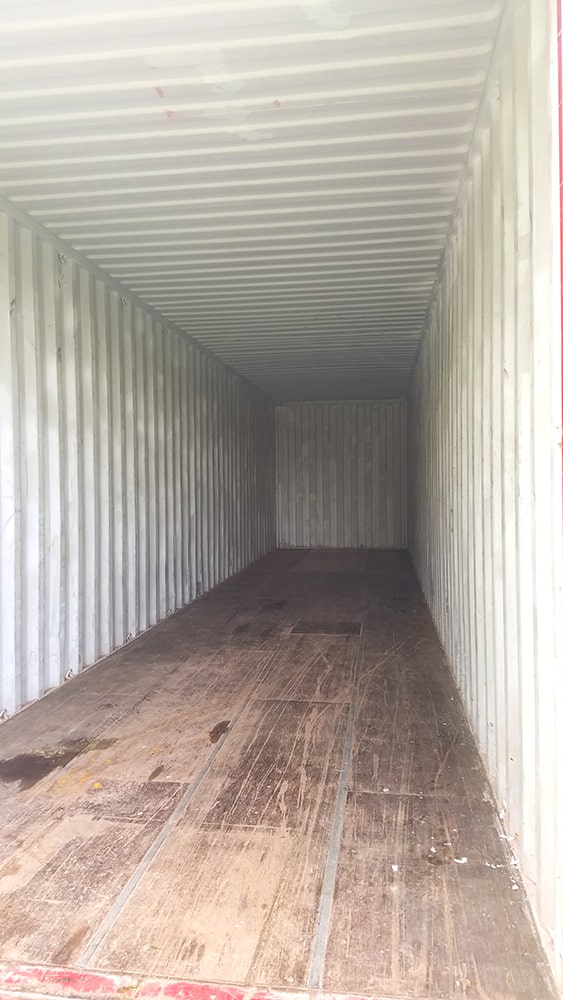
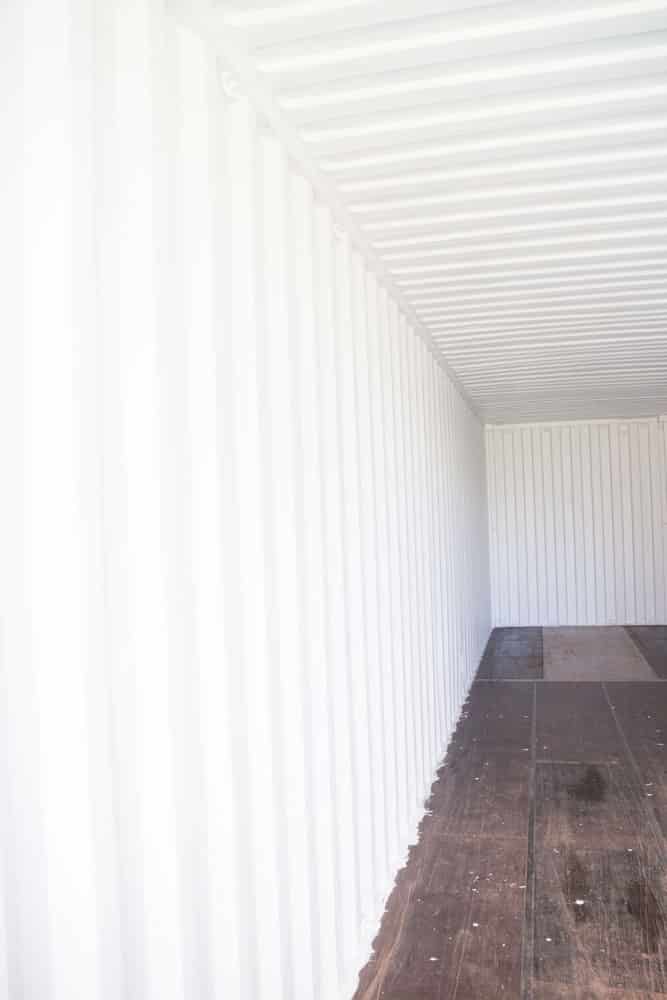
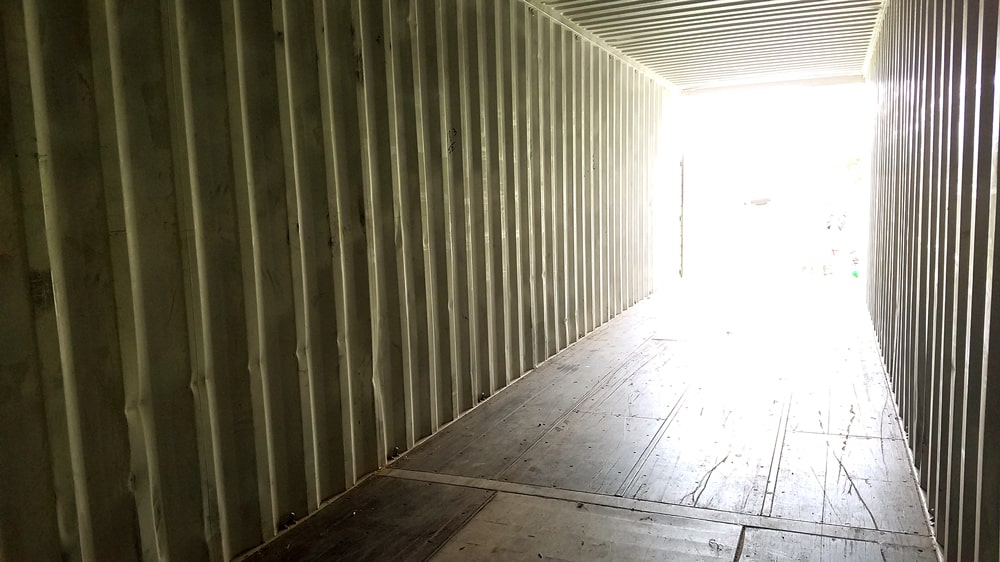
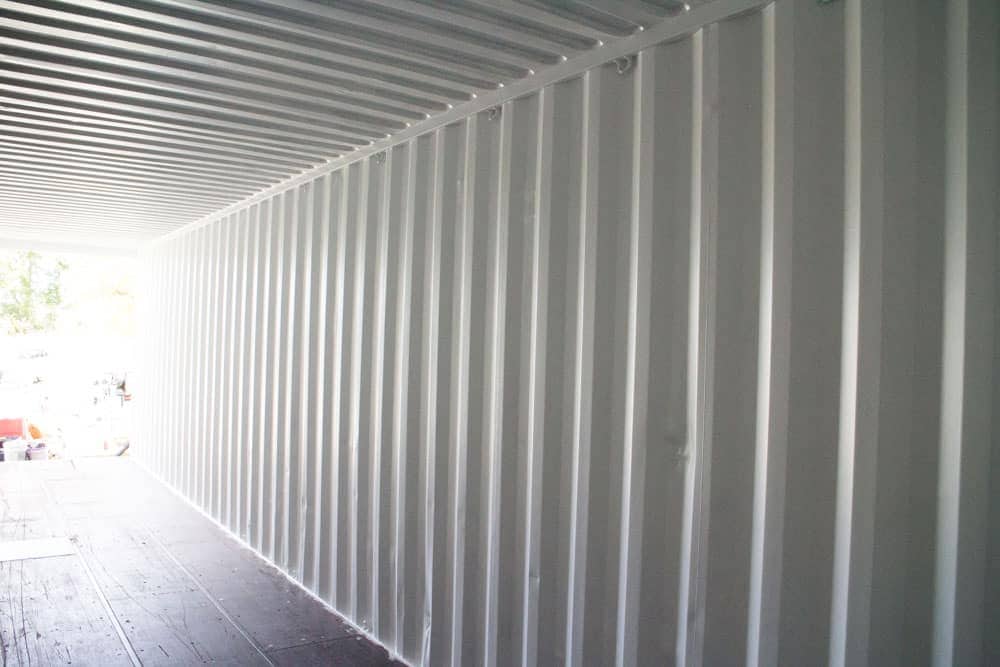
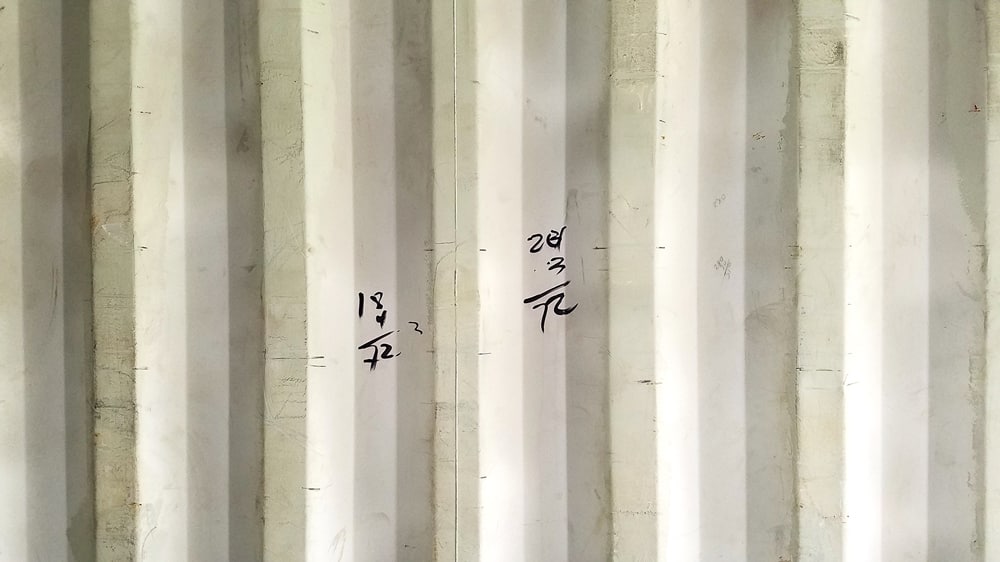
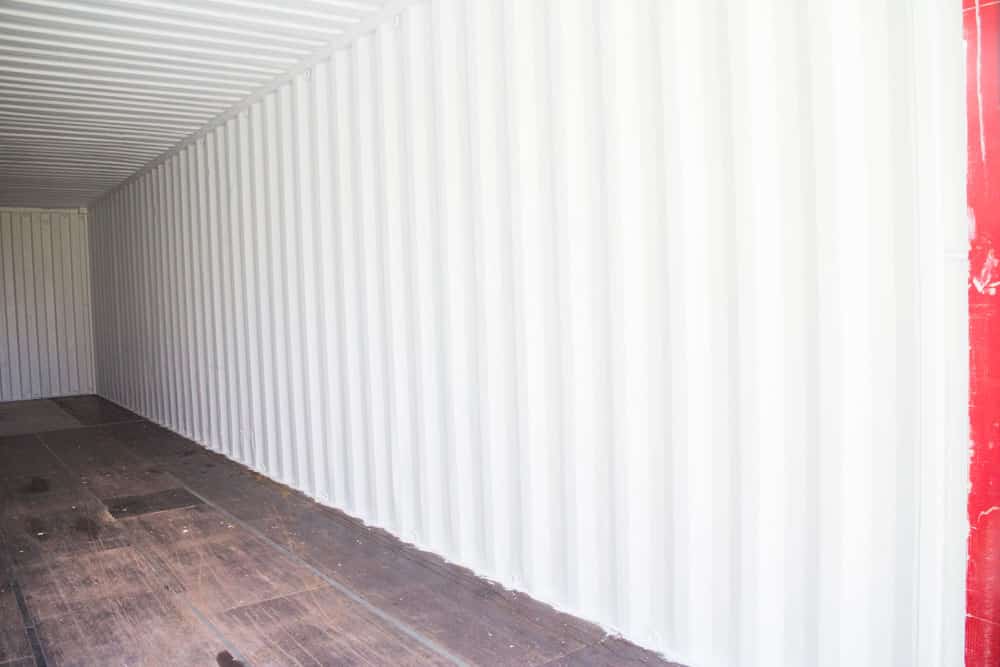
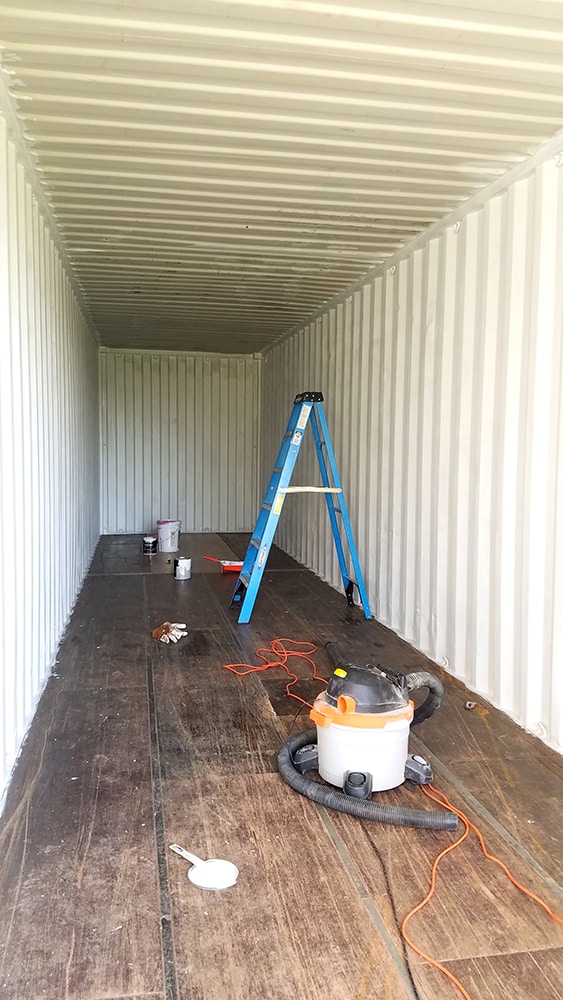
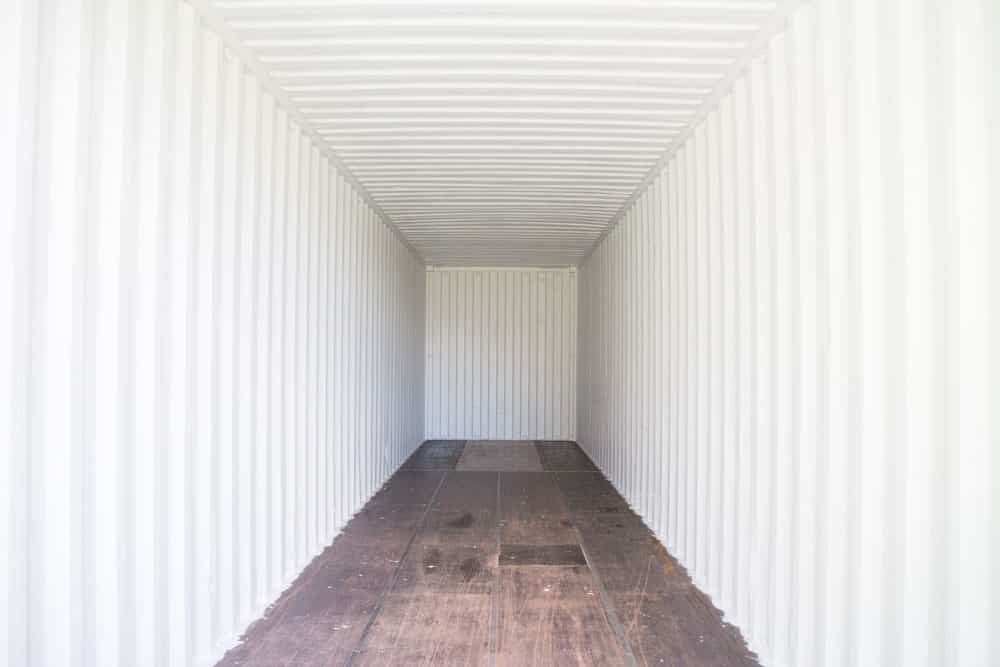
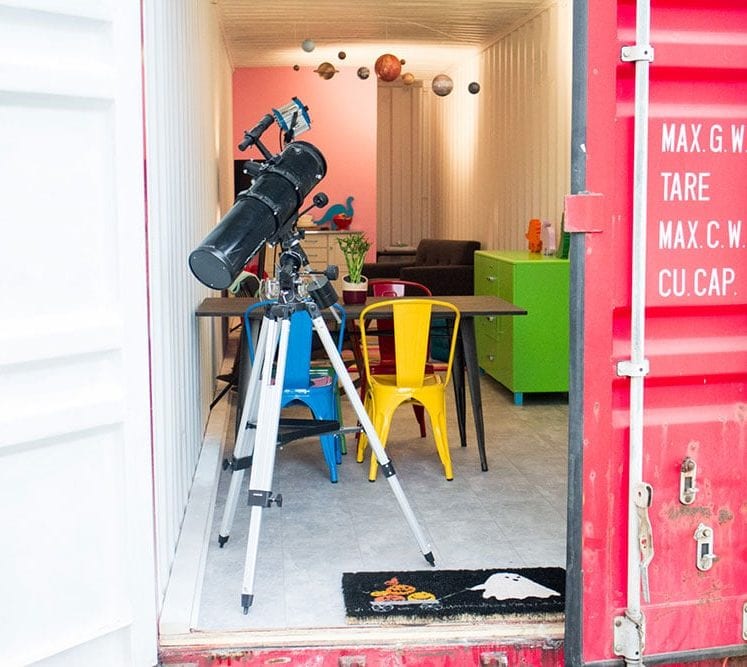
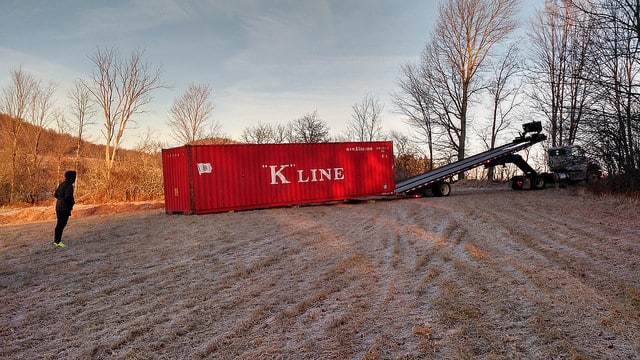
It’s been a bit since I talked about the next plans for the shipping container. This Summer has been dedicated to getting the garden up and growing, with little time to do anything else on the land. With Fall arriving, we’re going to be spending some time getting the shipping container live-in already. If you guys didn’t read, Matthew and I bought some land in Upstate New York to build a weekend getaway. We got a shipping container delivered to turn into a house. We have big dreams, but we need to take baby steps due to time/budget. For the time being, we’re making it pretty and cozy to spend our weekends in as it’s a bit of a mess now. We bought the shipping container used because it was much more economical that way. Even though we will have to do extra work, I definitely think it’s worth it for the price difference. In the next few weeks we’ll be working on walls, flooring and doors. First up is painting the interior of the container as it was dirty and had lots of marks due to cargo it spend lugging over the past few years. Eventually the shipping container will be insulated, so this is a temporary solution to making it feel like home while cleaning it up. Before: After:
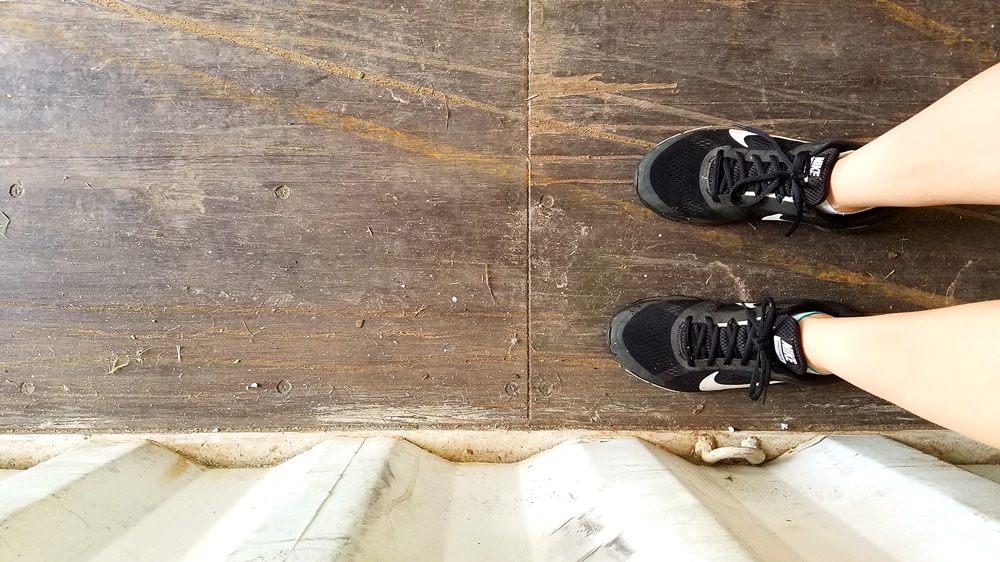
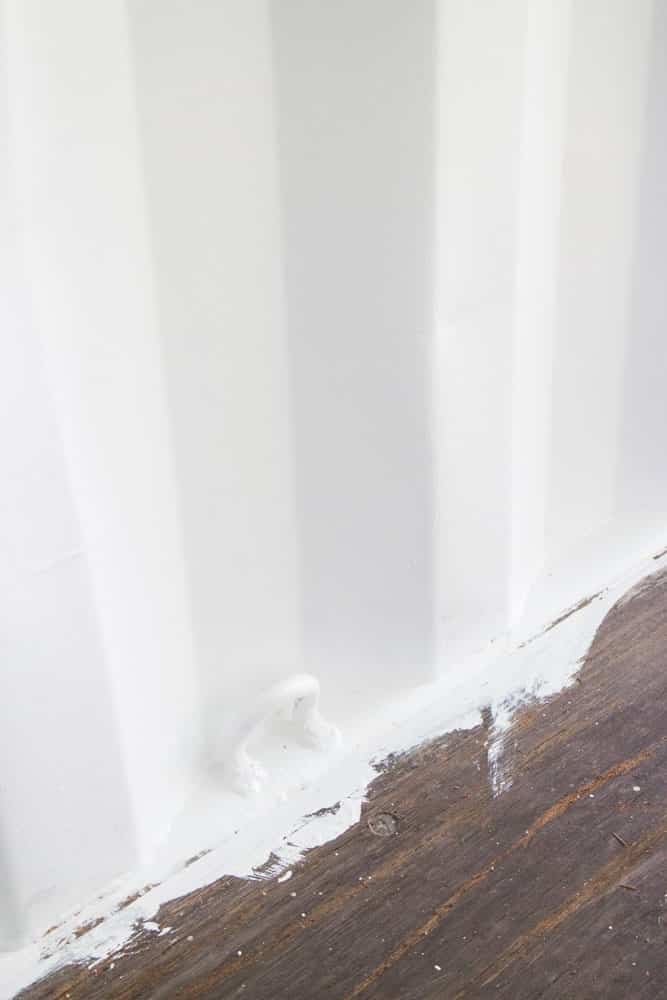
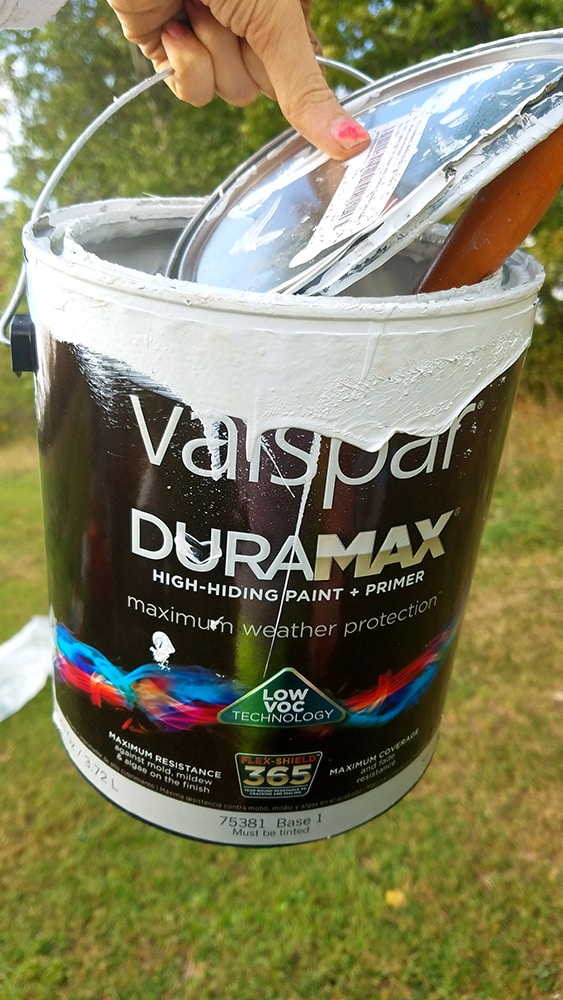
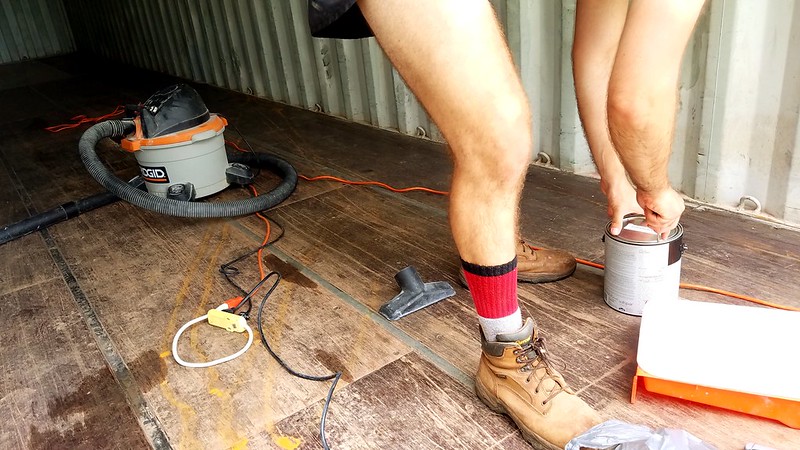
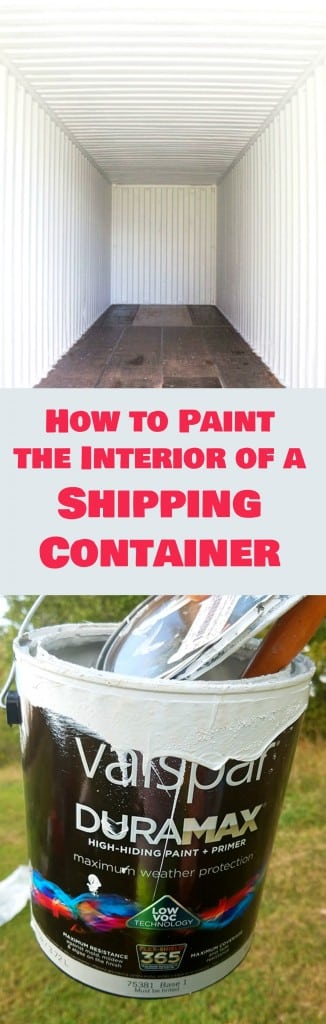
Before: After: Before: After: Before: After: We’re doing completely new flooring so no need to paint nicely. Before: There’s lots of math involved with shipping cargo apparently. After: Tips: For all 4 walls (including doors) and ceiling we needed 4 gallons of Valspar Duramax paint. Each gallon was $40, but we got it during a Valspar sale at Lowe’s so we saved $30. We used Duramax on the garden fence and it worked out nicely. We used exterior paint on the walls instead of interior since the shipping container walls vary significantly in temperature difference. In the Winter, it’s freezing and in the Summer, it’s hot. Using exterior paint will help protect from the moisture that temperature changes might cause. The paint is a paint + primer in one and although with this paint it usually only takes 1 coat, we had to apply 2 coats to completely cover the walls. Before painting we used a air compressor to completely clean the walls as there was dust and debris on them. Doing this is going to make sure your walls look the best when painting. We also used a ShopVac to clean up around the bottoms of the walls. For painting the top of the container make sure to have a ladder, or even better a step stool. The ceiling is a little difficult to paint (ours is a 9’6″ tall container) and I know Matthew was feeling it for a few days after. Also make sure you wear a respirator mask as it can get fumy when painting in a tight space like this. So that’s it for the interior container paint. We will be building walls for the bathroom area, so stay tuned for that. Next up will be the flooring… coming soon!