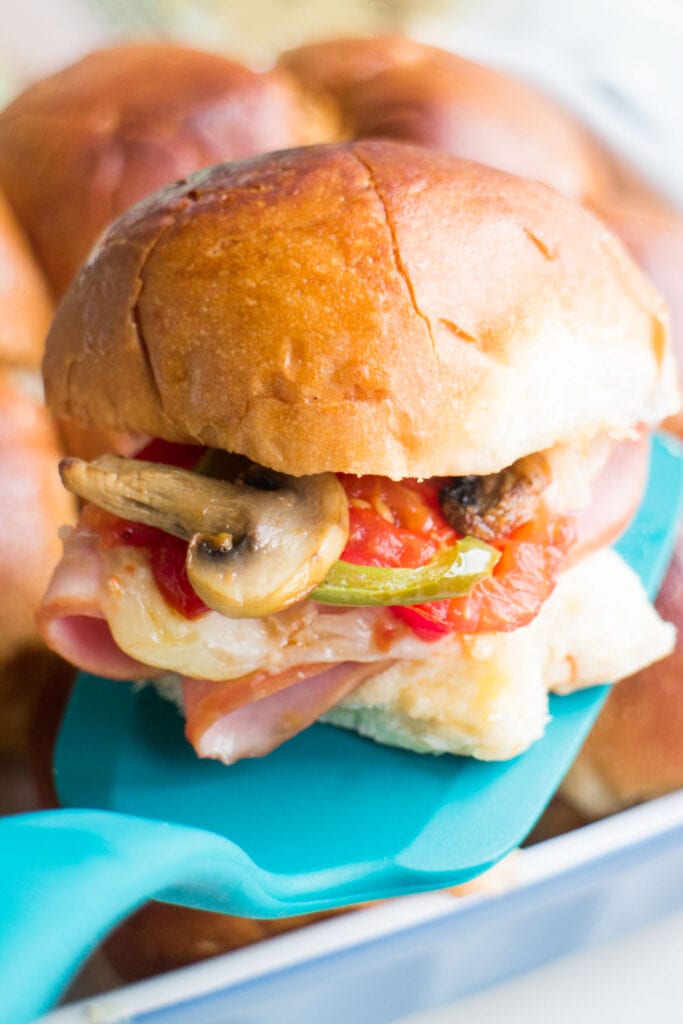
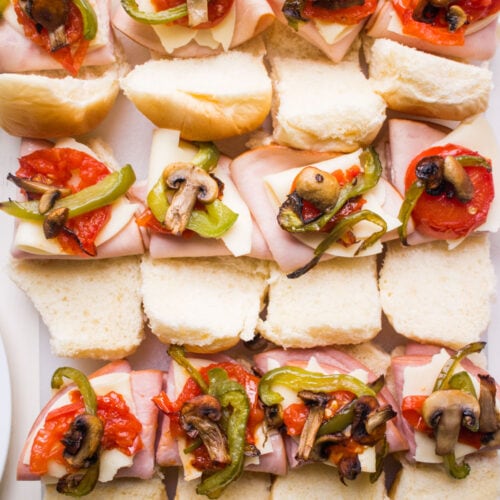
Easy Hawaiian Roll Sliders
My family LOVES sandwiches, especially Italian-style ones. What’s not to love about honey turkey, ham, provolone cheese and roasted veggies on sweet Hawaiian rolls? Sliders may be small, but when you pile them up they fill you up quite nicely! These handy goodies are the perfect game day and party finger foods. What I love most about them (besides the taste) is that there is something about finger food that makes it automatically fun – especially for kids!
What You’ll Need
All you need to make these fully-loaded Italian sliders is your oven and 10 ingredients- A pack of bread rolls, 3 kinds of veggies,2 kinds of deli meat, and of course, your fave Italian cheese! There is always room for customizing with recipes like these, so I added some alternative ingredients that you can try.
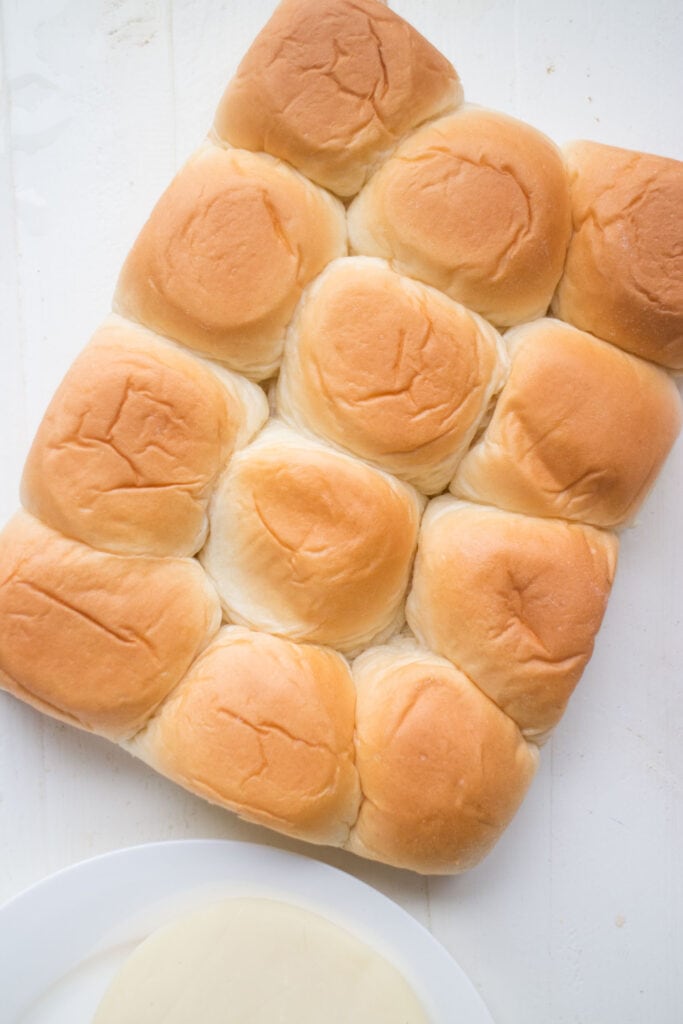
Dinner rolls- You can use any type of dinner rolls you want, but I love Hawaiian sweet rolls for sliders! They are sweetly fragrant and perfect for meaty and cheesy sandwiches like these.
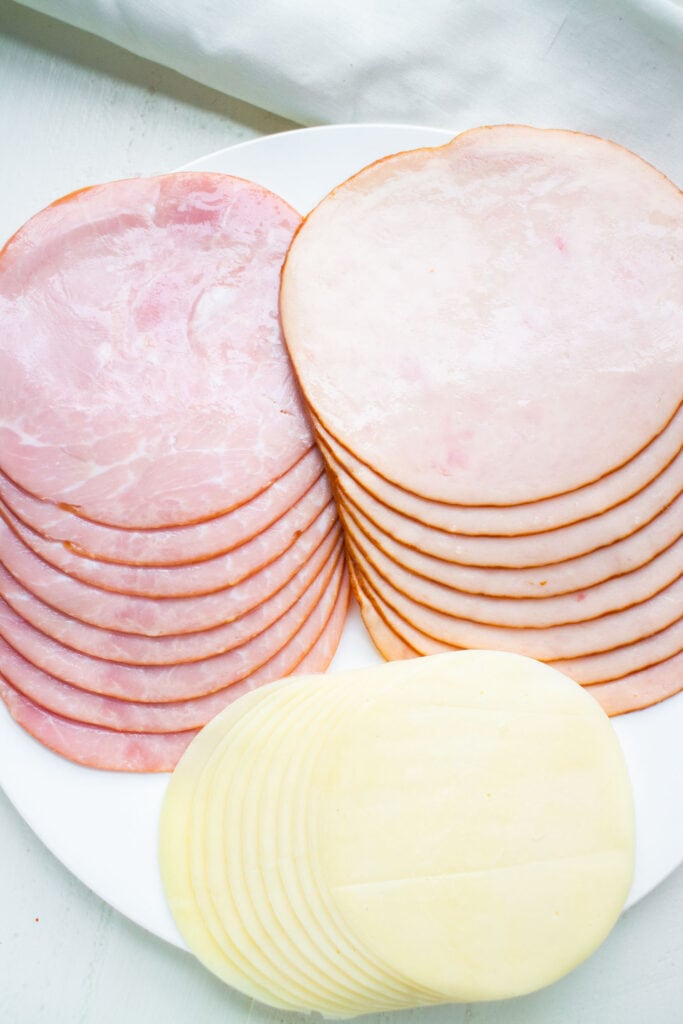
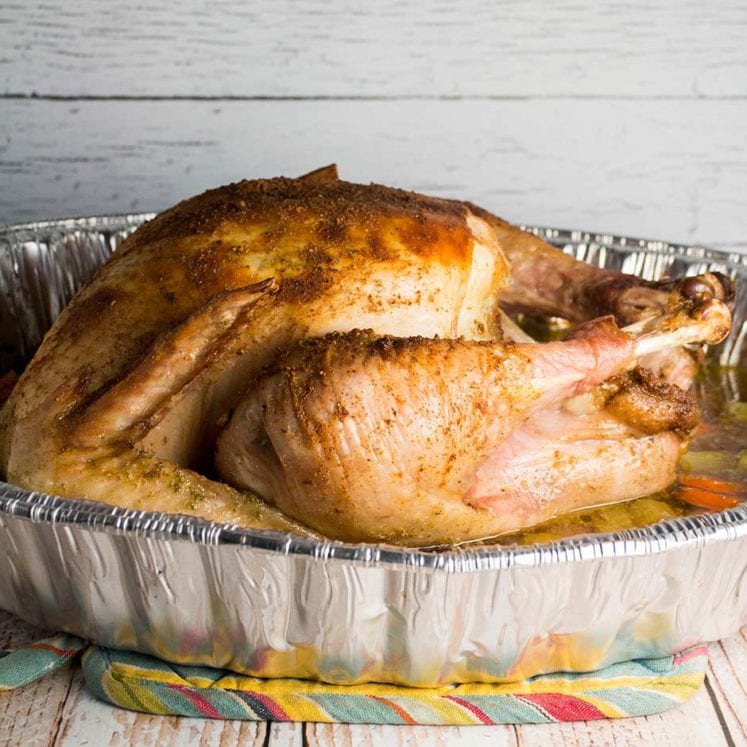
Meats- I used Honey Ham and Honey Turkey slices. This recipe is a great way to use up leftover Thanksgiving turkey too. Aside from these, you can also use other deli meats such as salami, pepperoni, prosciutto, or pancetta.Cheese- I like using provolone cheese for its creamy, well-rounded flavor and melty texture. Other options are American, mozzarella, Italian and Swiss cheese.
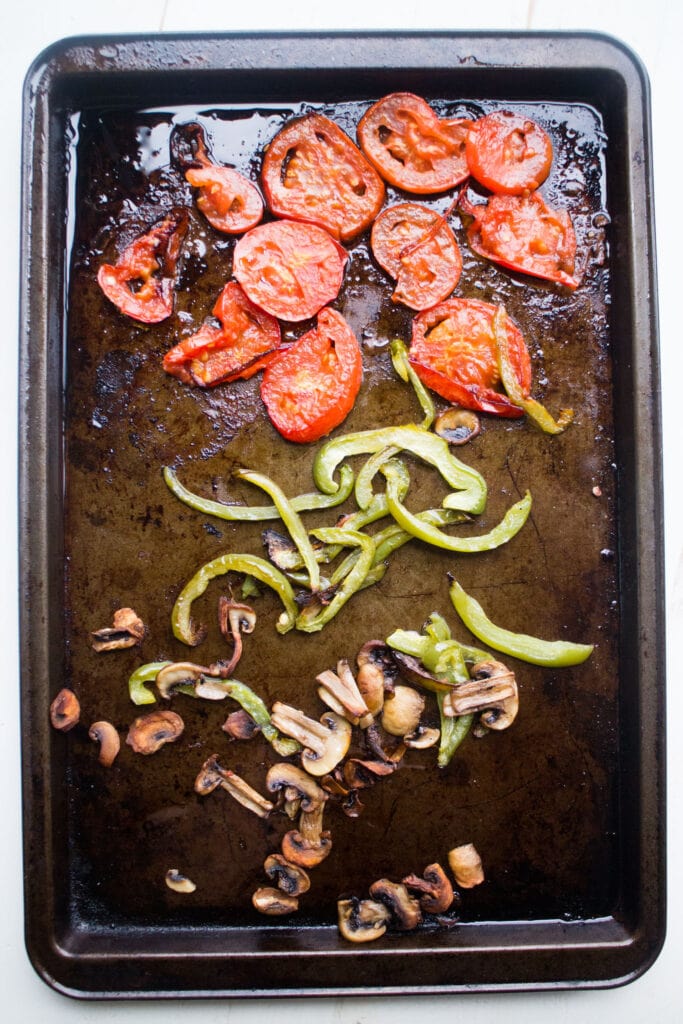
Veggies-This recipe calls for a combination of mushrooms, tomatoes, and bell peppers. They are roasted to add a smoky and caramelized flavor to the sliders. You can also use roasted banana peppers, candied jalapenos, onions, or peperoncini. If you want to add some tangy crunch to your sliders, you also sneak in a few slices of dill pickles!Butter- softened and brushed on the tops of the dinner rolls to give them a flaky, crispy texture.Olive oilSalt
How to Make Italian Ham And Turkey Sliders
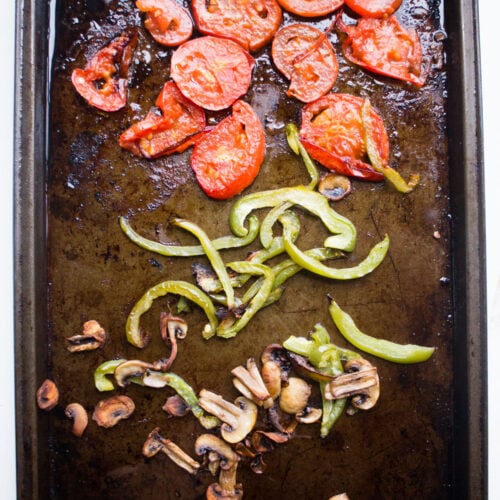
It will only take a few minutes to get these sliders ready for chomping! Let your pots and pans take a break because all you need are your baking dishes to make these. Roast the Vegetables. Place the sliced veggies on a baking sheet in a single layer. Drizzle them with olive oil, sprinkle salt, and then mix to evenly coat the vegetables. Roast for 20 minutes, flipping them halfway to make sure both sides are browned with a bit of char to them. Remove the baking sheet but leave the oven on.
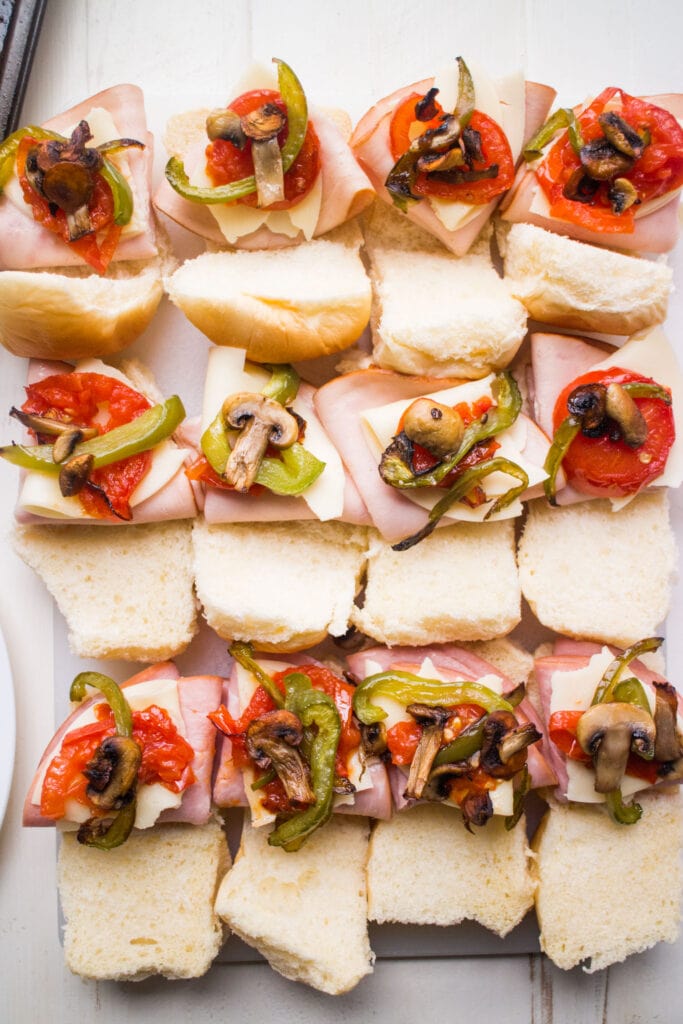
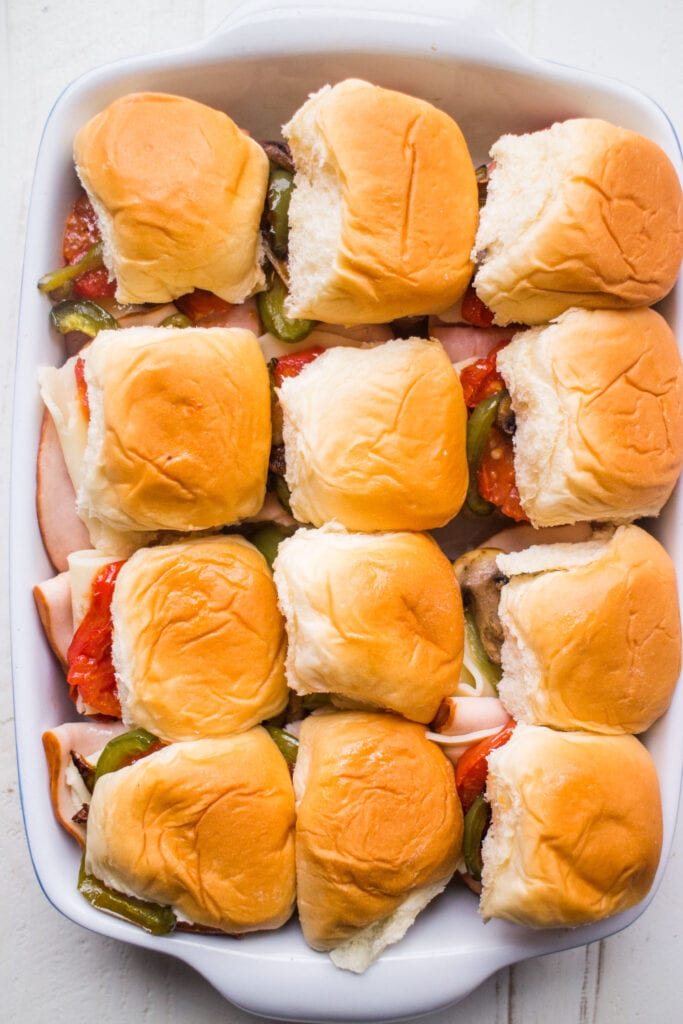
Assemble the sliders. Add the slices of deli ham and turkey to each roll bottom. You will need to fold them up to fit into the small bread. Then add the cheese slices (I just tear them up using my hands!), and top with the roasted vegetables. Cover with the roll tops.
Bake and serve! Place the mini sandwiches in a baking dish and brush the tops with the softened butter.
Brown the tops. Switch the oven to a low broil and bake for 1-2 minutes or until the top of each roll is slightly browned. Remove from the oven and serve!
Tips when Making Italian Sliders
Your tomatoes should be cut fairly thick as they will significantly slim down when roasting.I find that some people prefer ham or turkey, so I like to make ham only sandwiches, turkey only sandwiches and some with both! It’s really up to you!I like to keep them simple, but if you want to jazz them up, you can mix italian seasoning with the softened butter or use herbed butter to give your sliders a more Italian flair! You can even add sesame seeds on top of the butter!If your rolls are too high, insert a toothpick or small skewer in the middle to keep them from toppling over. You can spear them with olives or pickles to make them more decorative.Watch the oven as you broil the sandwiches. They can burn quickly! Pull them out as soon as the tops turn golden and the cheese has melted.If you want to bake your sliders a bit more but do not want to burn the tops off, place a foil tent over the baking dish.
Serving Suggestions
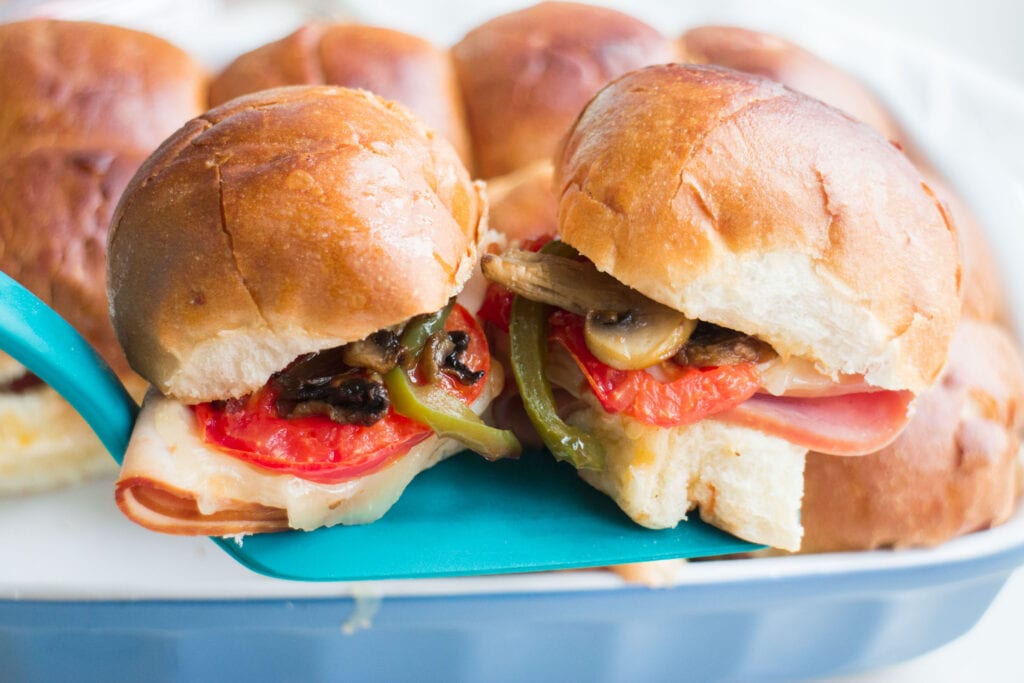
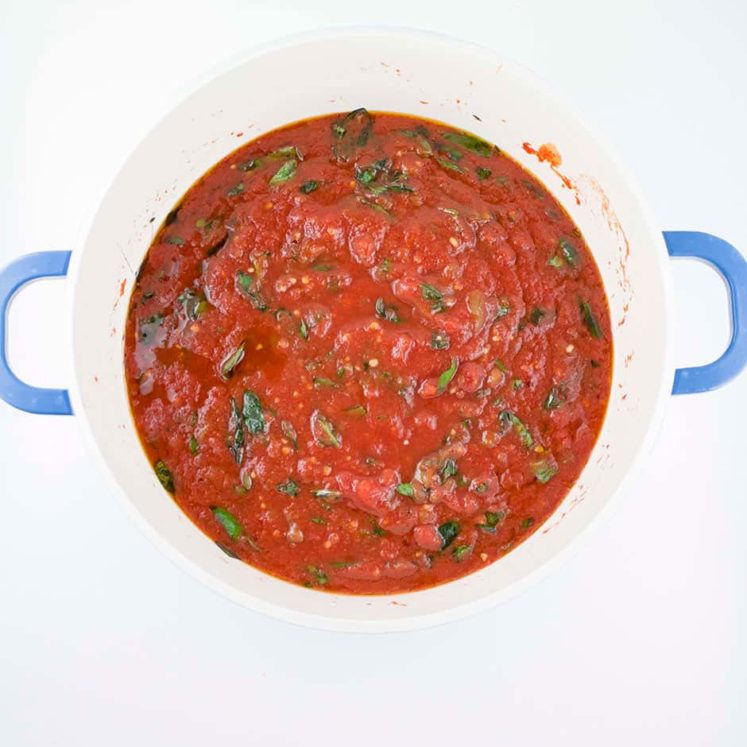
They are best served while still warm from the oven, while the bread is still crisp and the cheese is melty! You can devour them as they are or dip them into tomato sauce, or add pesto on top. They’re great served with tomato soup, Italian soup, fries, chips, and vegetable salads on the side.
Make-Ahead Italian Sliders
You can assemble the sliders ahead of time, skipping the butter and the baking part. Place them in a lidded container and place them in the fridge or freezer (use a freezer friendly dish, or cover them with foil). You can keep it in the refrigerator for a few days and in the freezer for a month. To cook, thaw overnight in the fridge if frozen, brush with melted butter and follow the baking instructions above. Pin for later: