Diced Green Chiles
Did you come here because you wanted to make your OWN diced green chiles, just like the canned chiles you buy in the supermarket? Well you’re in luck, because this is going to walk you through how to make them! And even better, they’re so EASY to make!
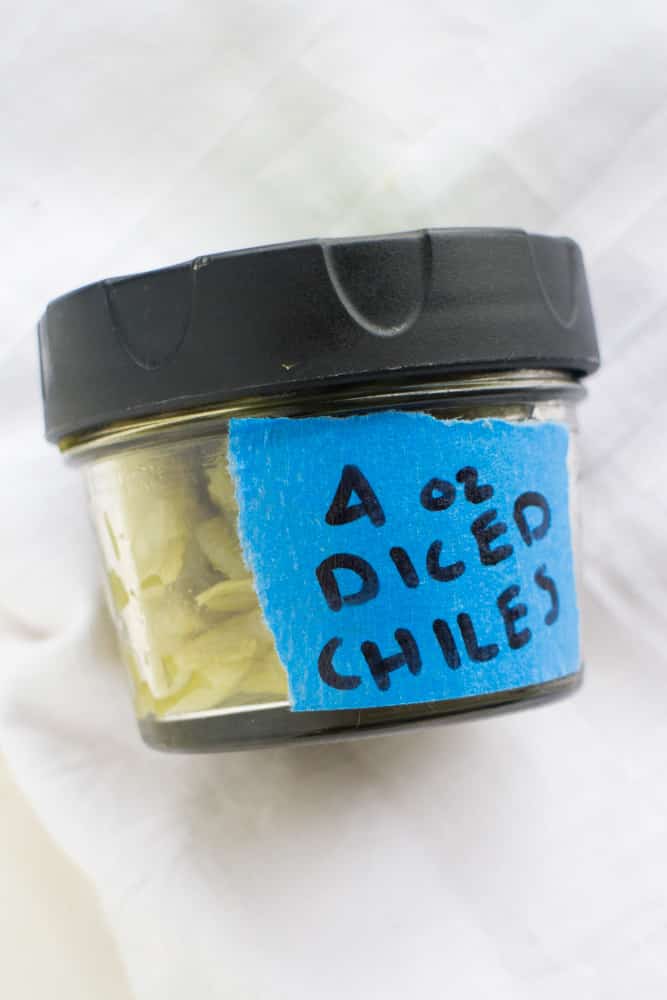
The past year we became obsessed with canned diced green chiles, you know those 4 oz canned peppers? You’re probably familiar with the Oretega or Old El Paso brands! We put them in enchiladas, tacos, casseroles, stews and more. We were buying a few cans a week when it hit me – we should be growing them!
What type of peppers are canned diced green chiles?
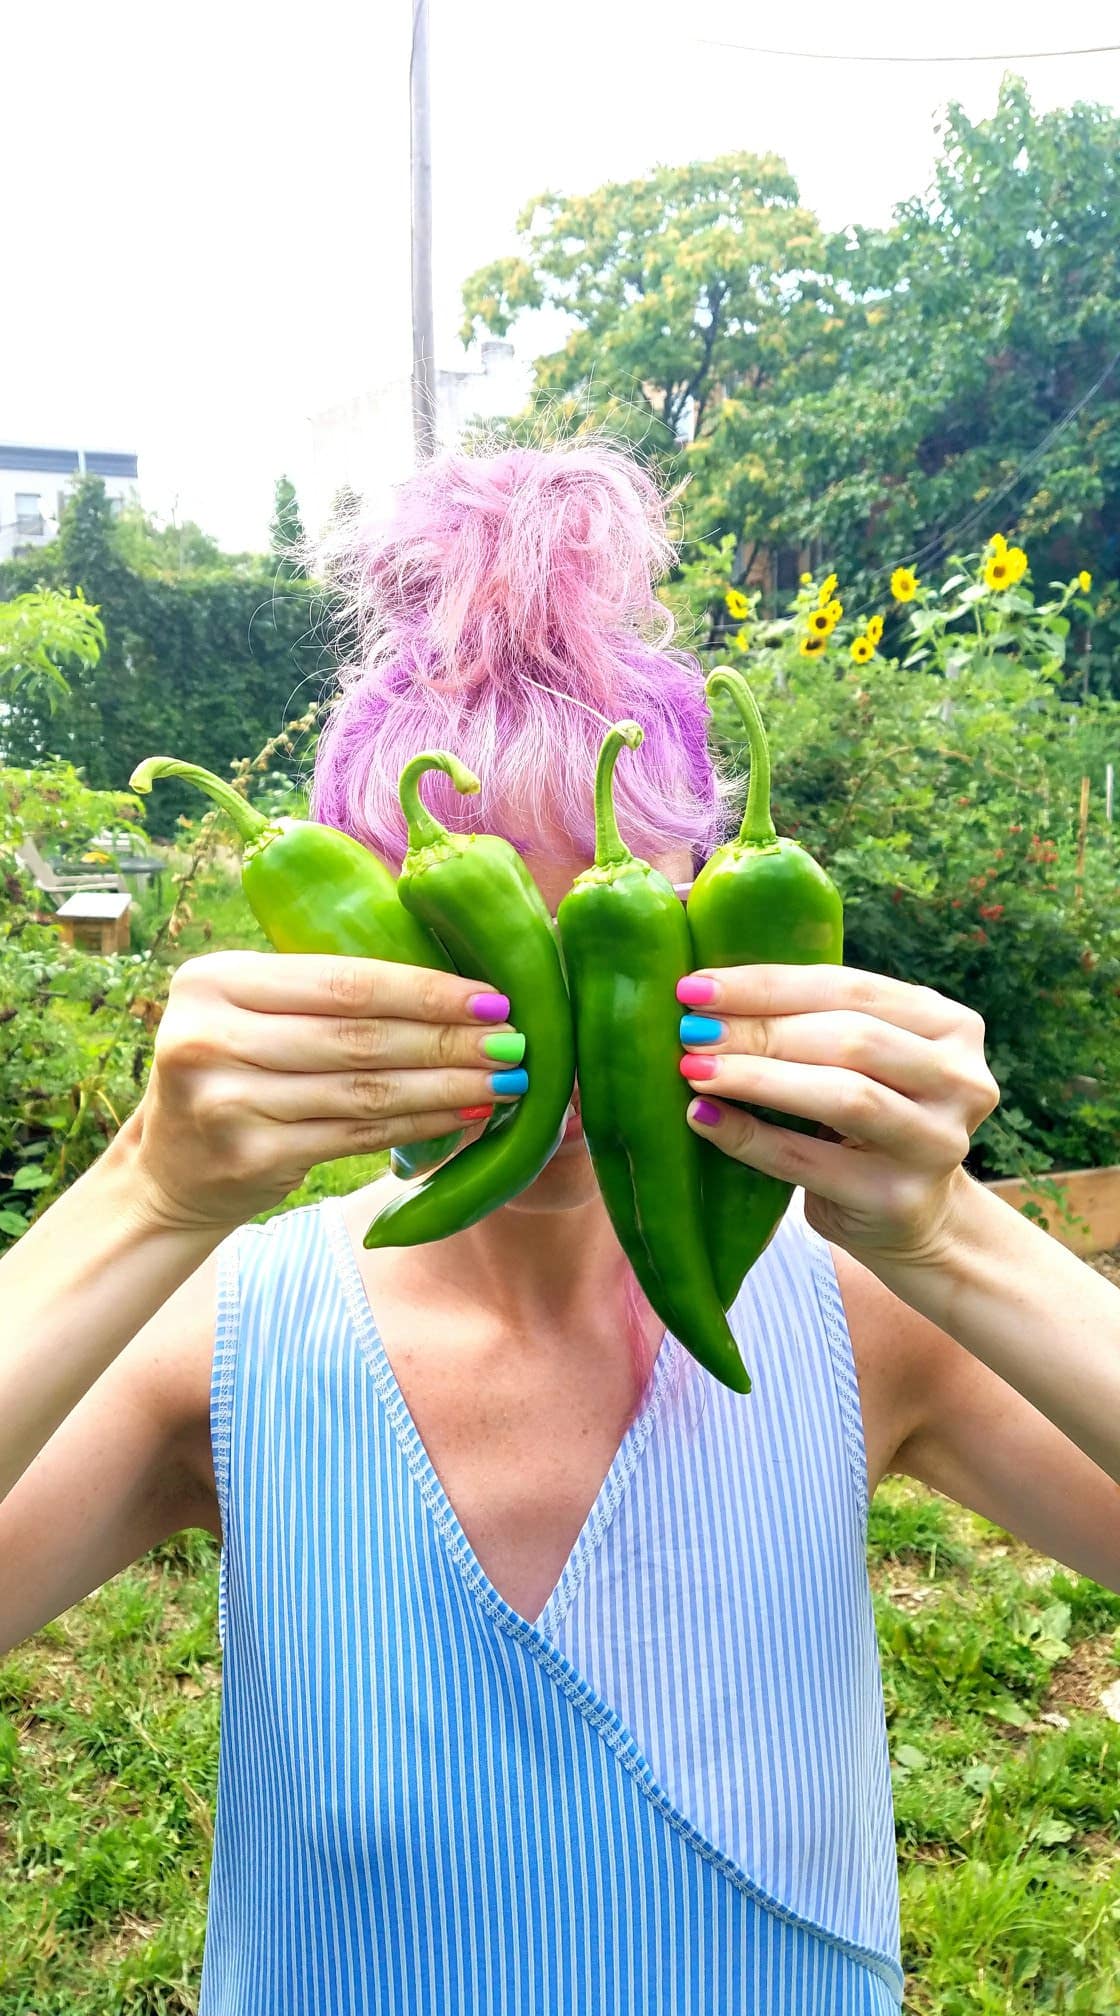
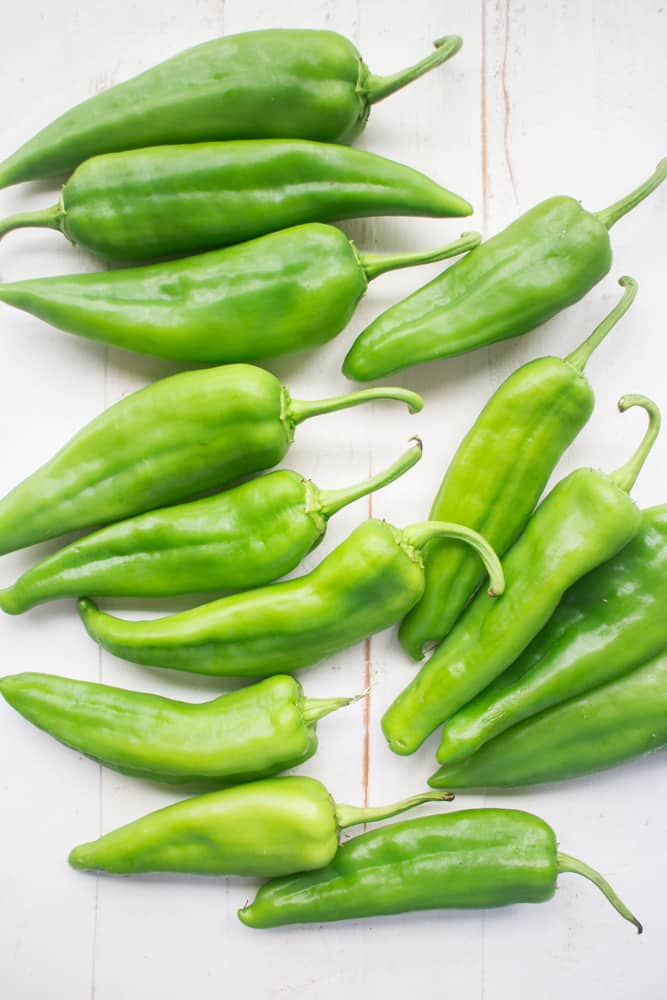
So I did some investigating to figure out what type of peppers they are, and turns out they’re Anaheim peppers. More specifically, we grow the “Highlander” variety of Anaheims. These plants are super high in productivity. I’m not kidding, grow 2 plants and you might be set for the season! We have 6 plants growing and now I have a dedicated drawer in the refrigerator to these peppers! The plants grow about the average height of a bell pepper plant, but there’s just endless peppers in sight! We’re so amazed by their yield we’ll be growing them every year now!
They grow beautifully, more on the flat side which are great for roasting (although there are a couple curly ones!), and nice in length, ranging anywhere from 5-7 inches. Seriously guys, they can grow big!
How To Make Diced Green Chiles
These diced chiles are so easy to make and you only need 2 ingredients – Anaheim peppers and a little bit of salt. That’s it.
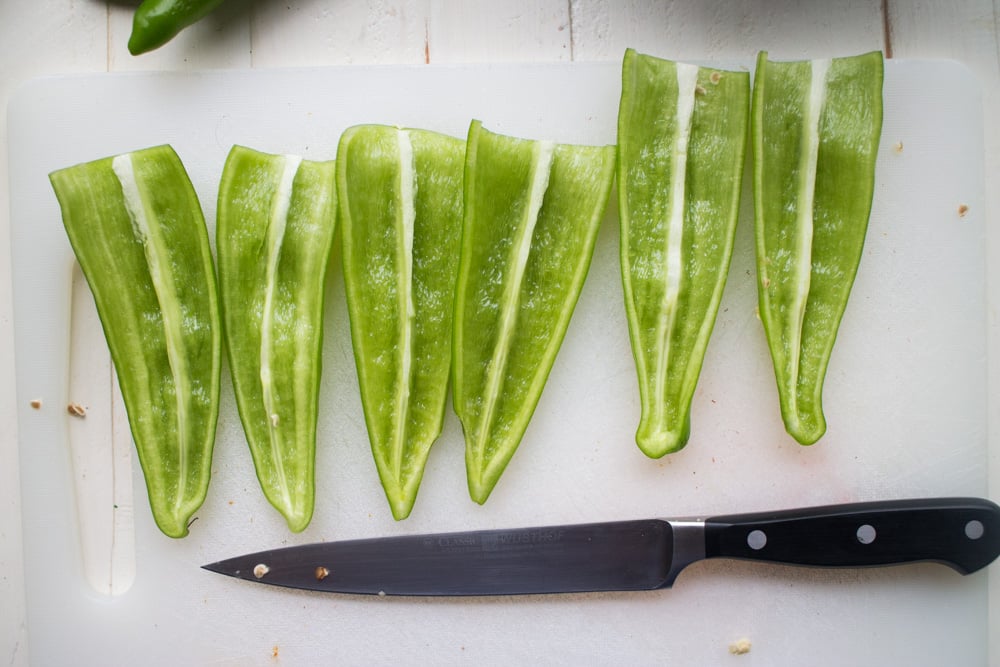
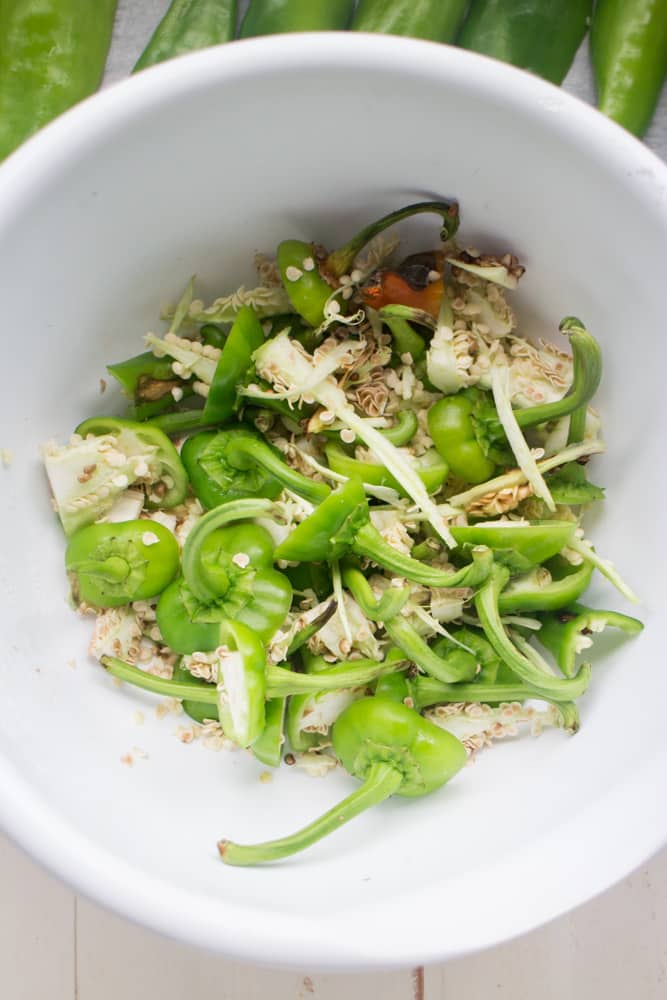
First wash your Anaheim peppers to make sure they’re clean, then dry them off completely. Cut the stem off each pepper, and then cut it in half. Scoop the guts and seeds out of the pepper and place in your compost bowl. Here’s my good ol compost bowl.
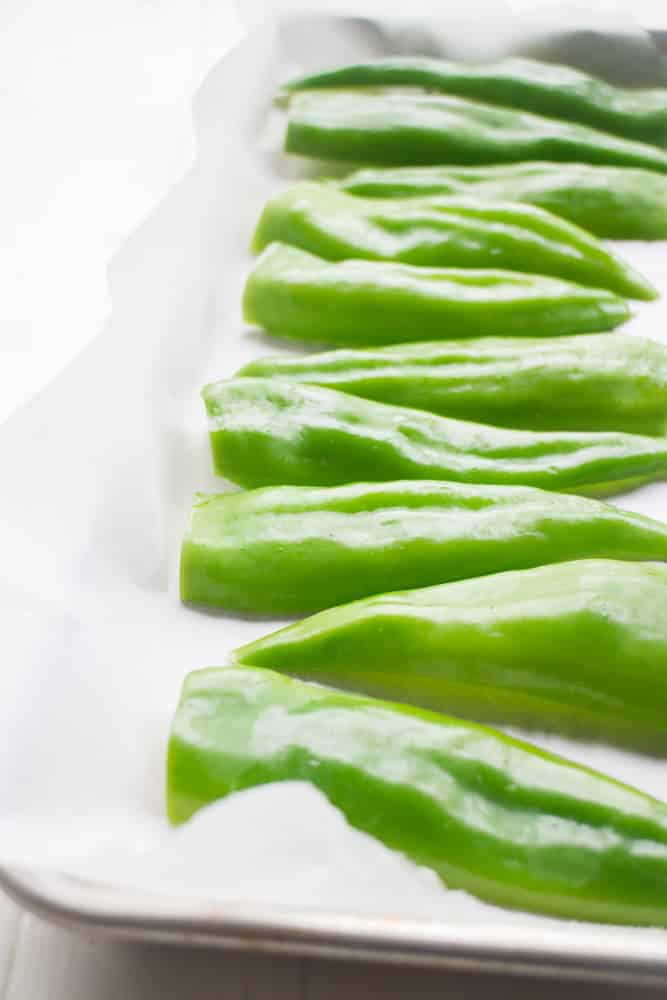
Use Parchment Paper When Roasting Vegetables
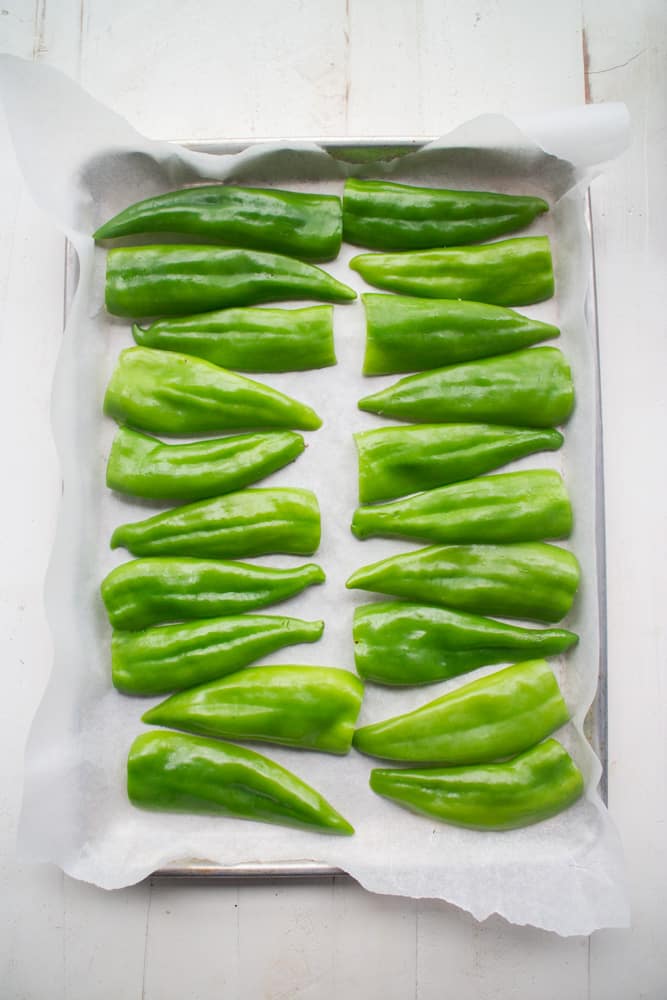
You want to use parchment paper when roasting vegetables. This will prevent aluminum foil from possibly sticking to your vegetables. There’s also been some studies that show the foil can leach into the vegetables. Now cover a baking pan with parchment paper. Arrange your peppers on top of the parchment paper. How many peppers should you make? One can of 4 oz diced chiles requires about 4-5 Anaheim peppers. I recommend to make a few batches at once as you can easily freeze them.
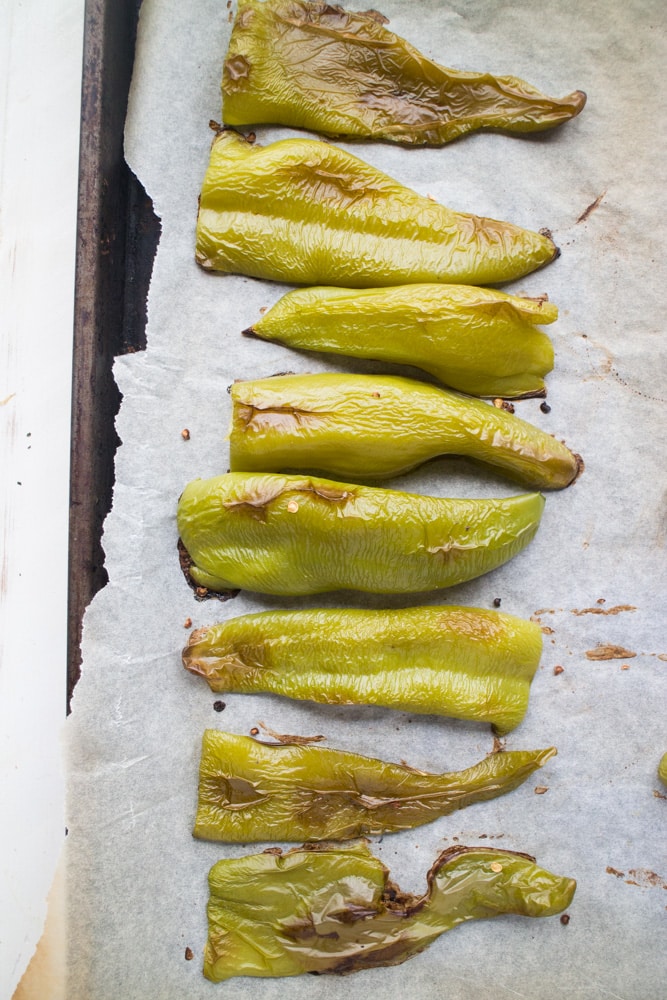
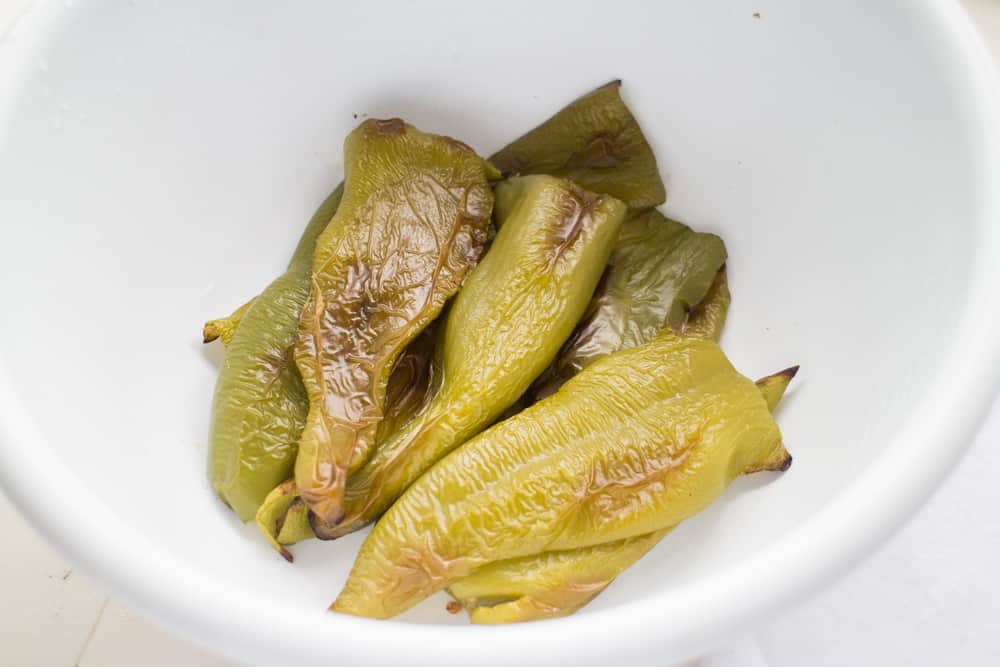
When arranging them on the baking sheet, I like to reverse each one when lining them up. This will give you more room for more peppers! Roast your peppers at 450 degrees for approximately 20 minutes. You want the peppers to be slightly blistery, but not burned! Keep a eye on the peppers from around the 10 minute mark, just to be careful. 20 minutes is usually my “magic time” but depending on your pepper size yours might be anywhere from 15-25 minutes. Here’s how your peppers should look when you know they’re done roasting. See how they’re blistering but not burnt?
How to Remove Skins From Peppers
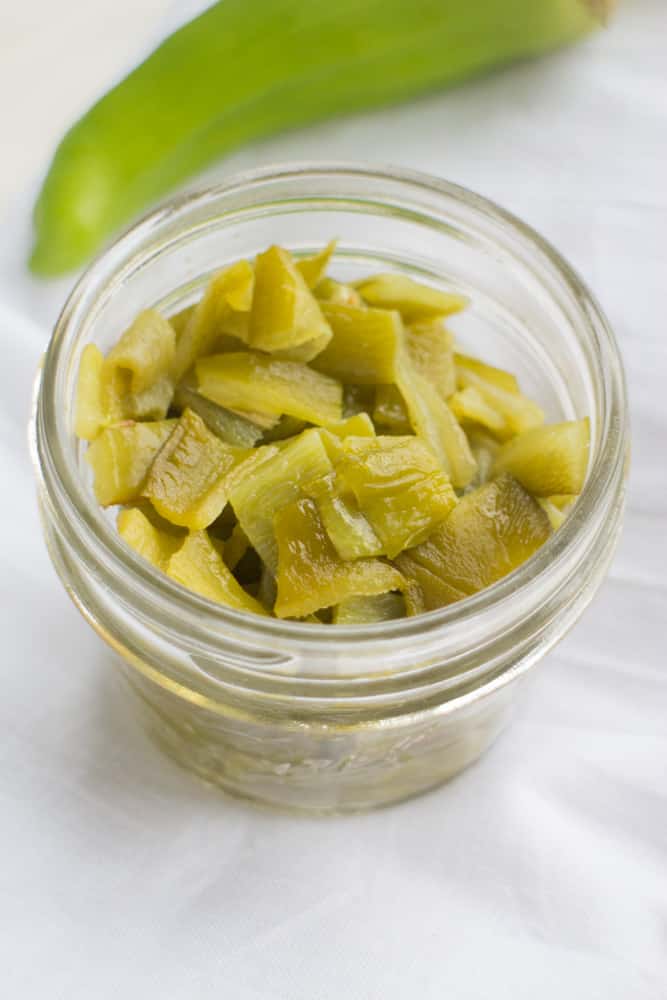
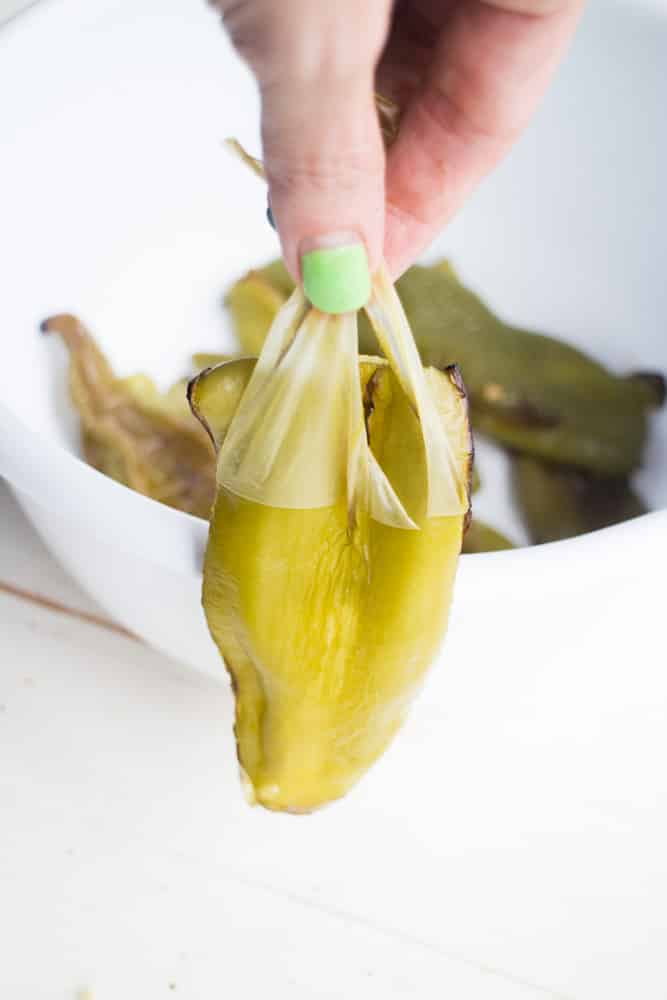
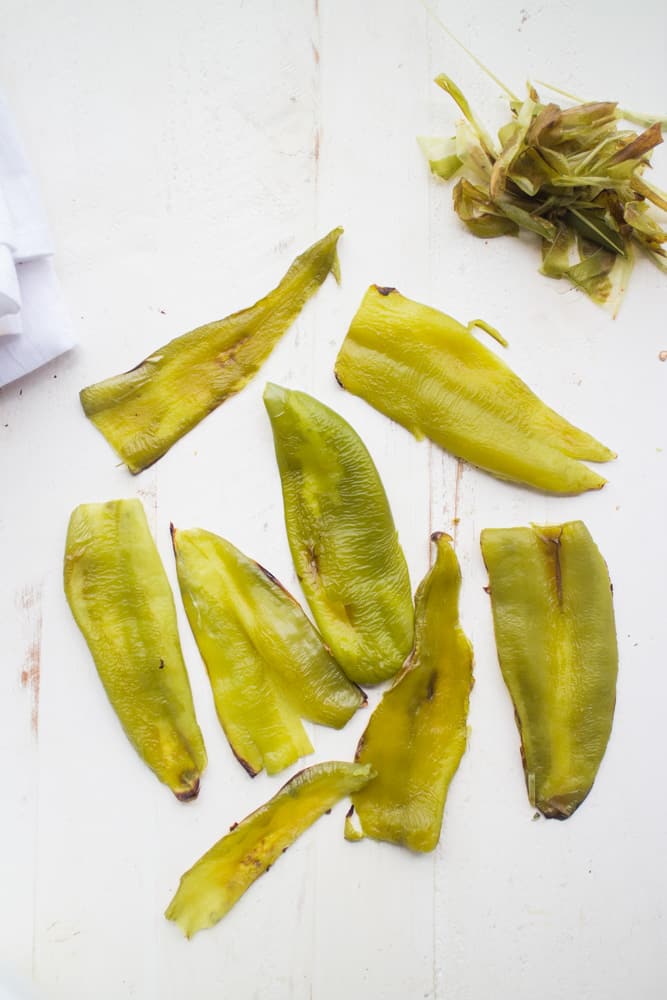
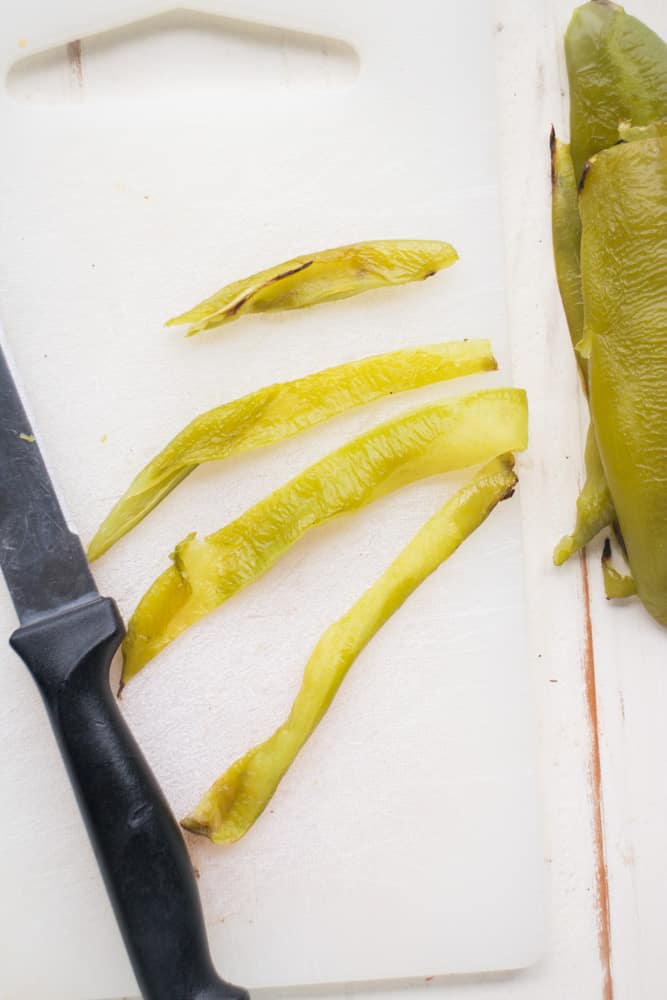
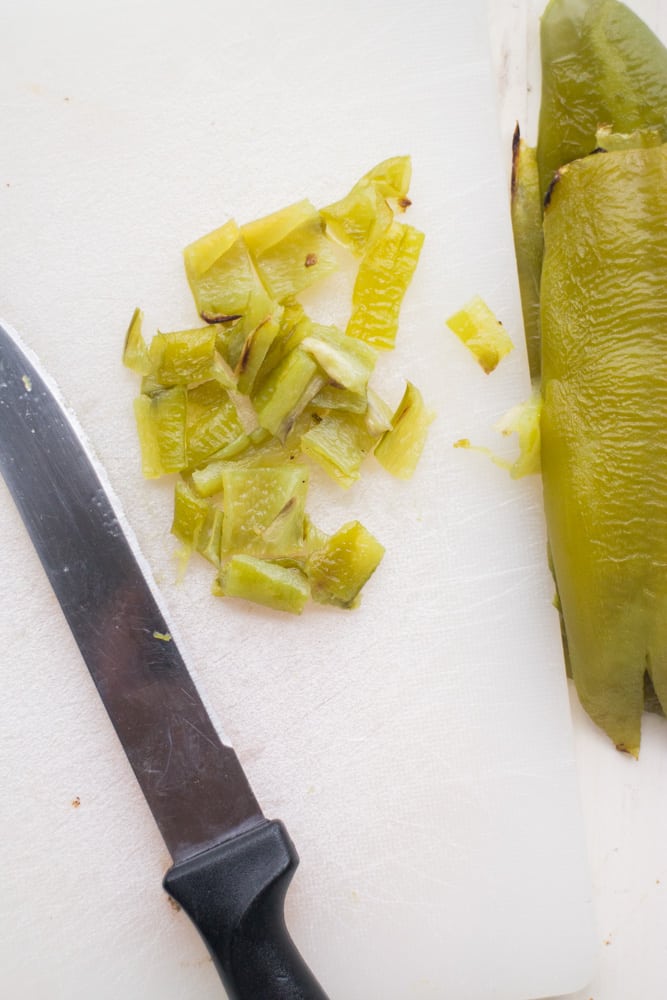
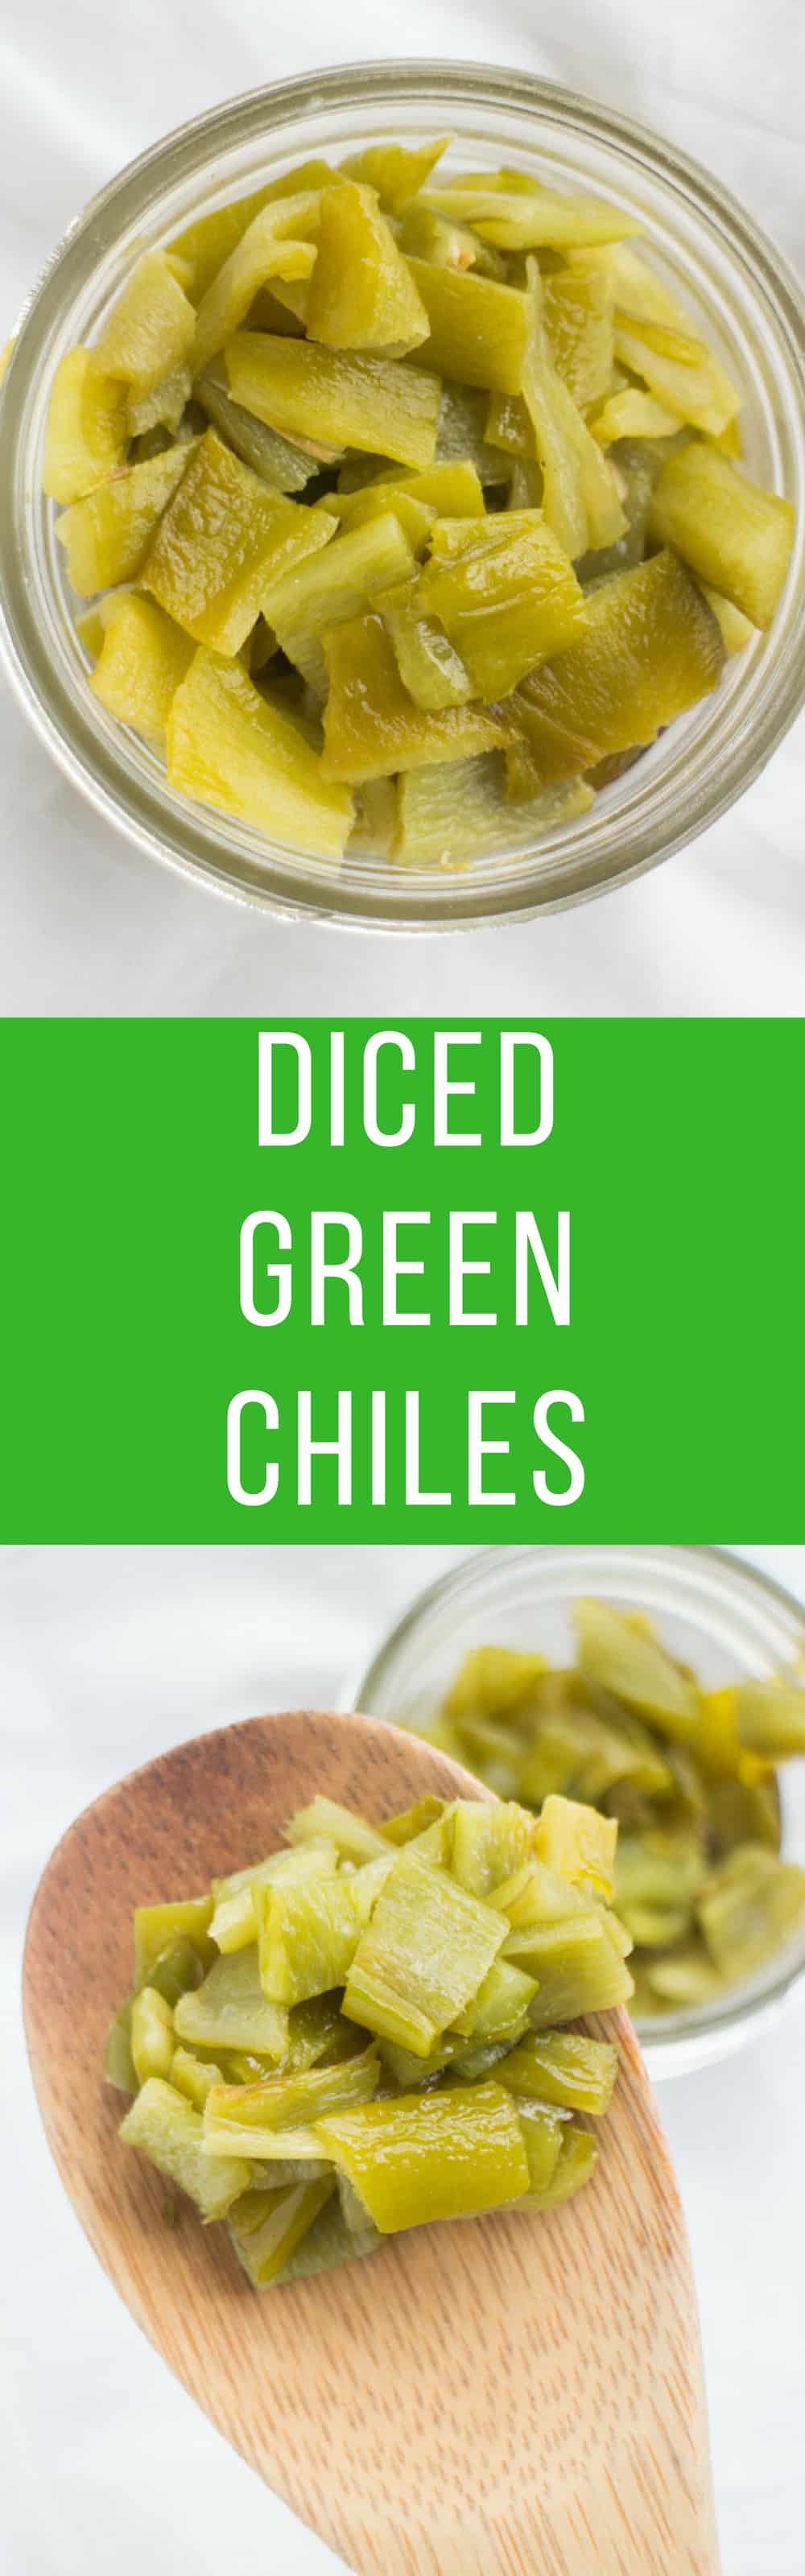
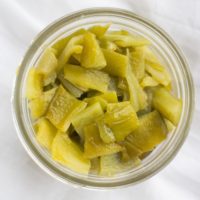
Here’s my trick on how to remove skins from peppers easily. By using this method, you can practically pull the skin off in one go. Once the peppers are removed from the oven, let cool for a couple minutes until you can touch them (about 2-3 minutes). Place them in a bowl. Now cover the bowl with a towel and let sit for about 15 minutes. This is going to lock in the moisture and make the skins easy to pull off! See, look at how easy the skins peeled off! Peel the rest of your peppers so they’re naked! Don’t make them blush! Ok, we’re almost done! Time to dice then up! I cut each half up into a few skinny pieces first. And then dice those pieces up! And just like that you have your own homemade canned diced green chiles! I usually add a tiny dash of salt to each 4 oz batch. But that’s it – you don’t need any other ingredients!
Can you can diced green chiles?
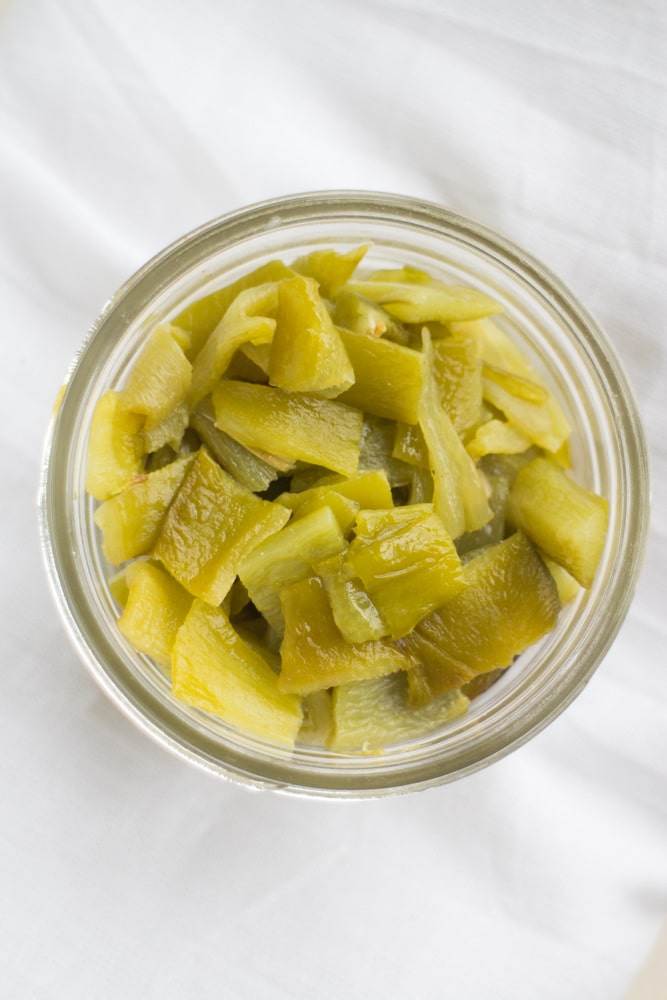
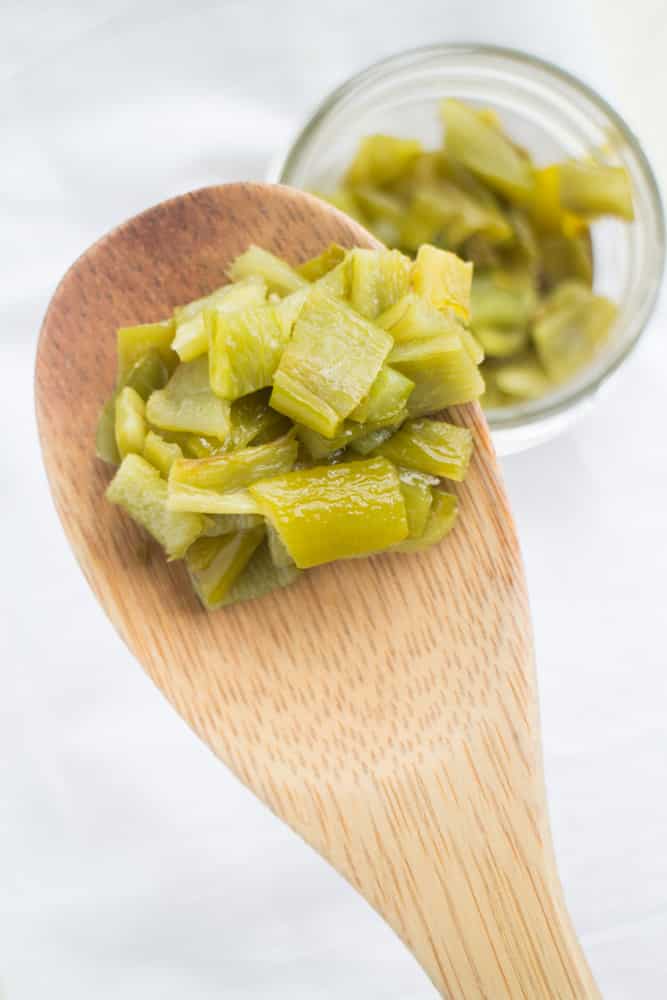
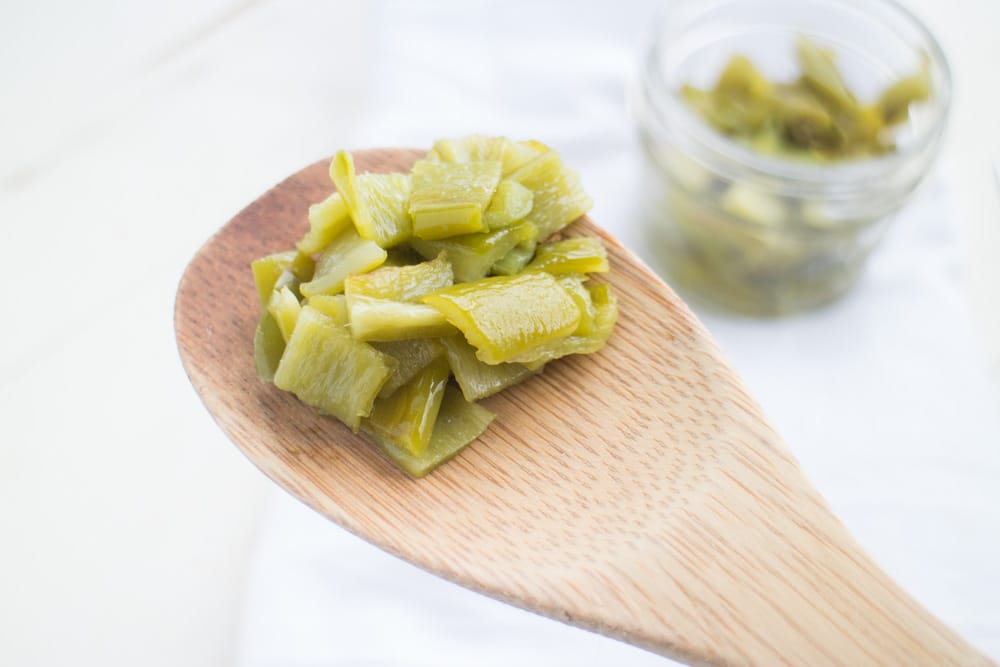
Yes! You can serve them immediately in your favorite recipe, freeze them for later or even can them! I usually freeze them in 4 ounce portions in freezer bags or small jars, as usually that’s what a recipe calls for! You’re going to love how easy these are to make and how you can save them to last throughout the Winter!
I hope you enjoy these Diced Green Chiles! If you make them, make sure to post them on Instagram with #brooklynfarmgirl so I can feature them!
Recipe Using Diced Green Chiles
Chicken Tortilla Soup 45 Minute Vegetarian Chili Vegetable Garden Salsa Pin for later: